

By David Hayes
See his work in WTP Vol. III #3
After a recent still life shoot I had a number of images that didn’t make the initial “cut” but where still keepers. My image, Celestial started out from one of those images. I’d like to share with you my workflow in the creation of this “spacey” image!
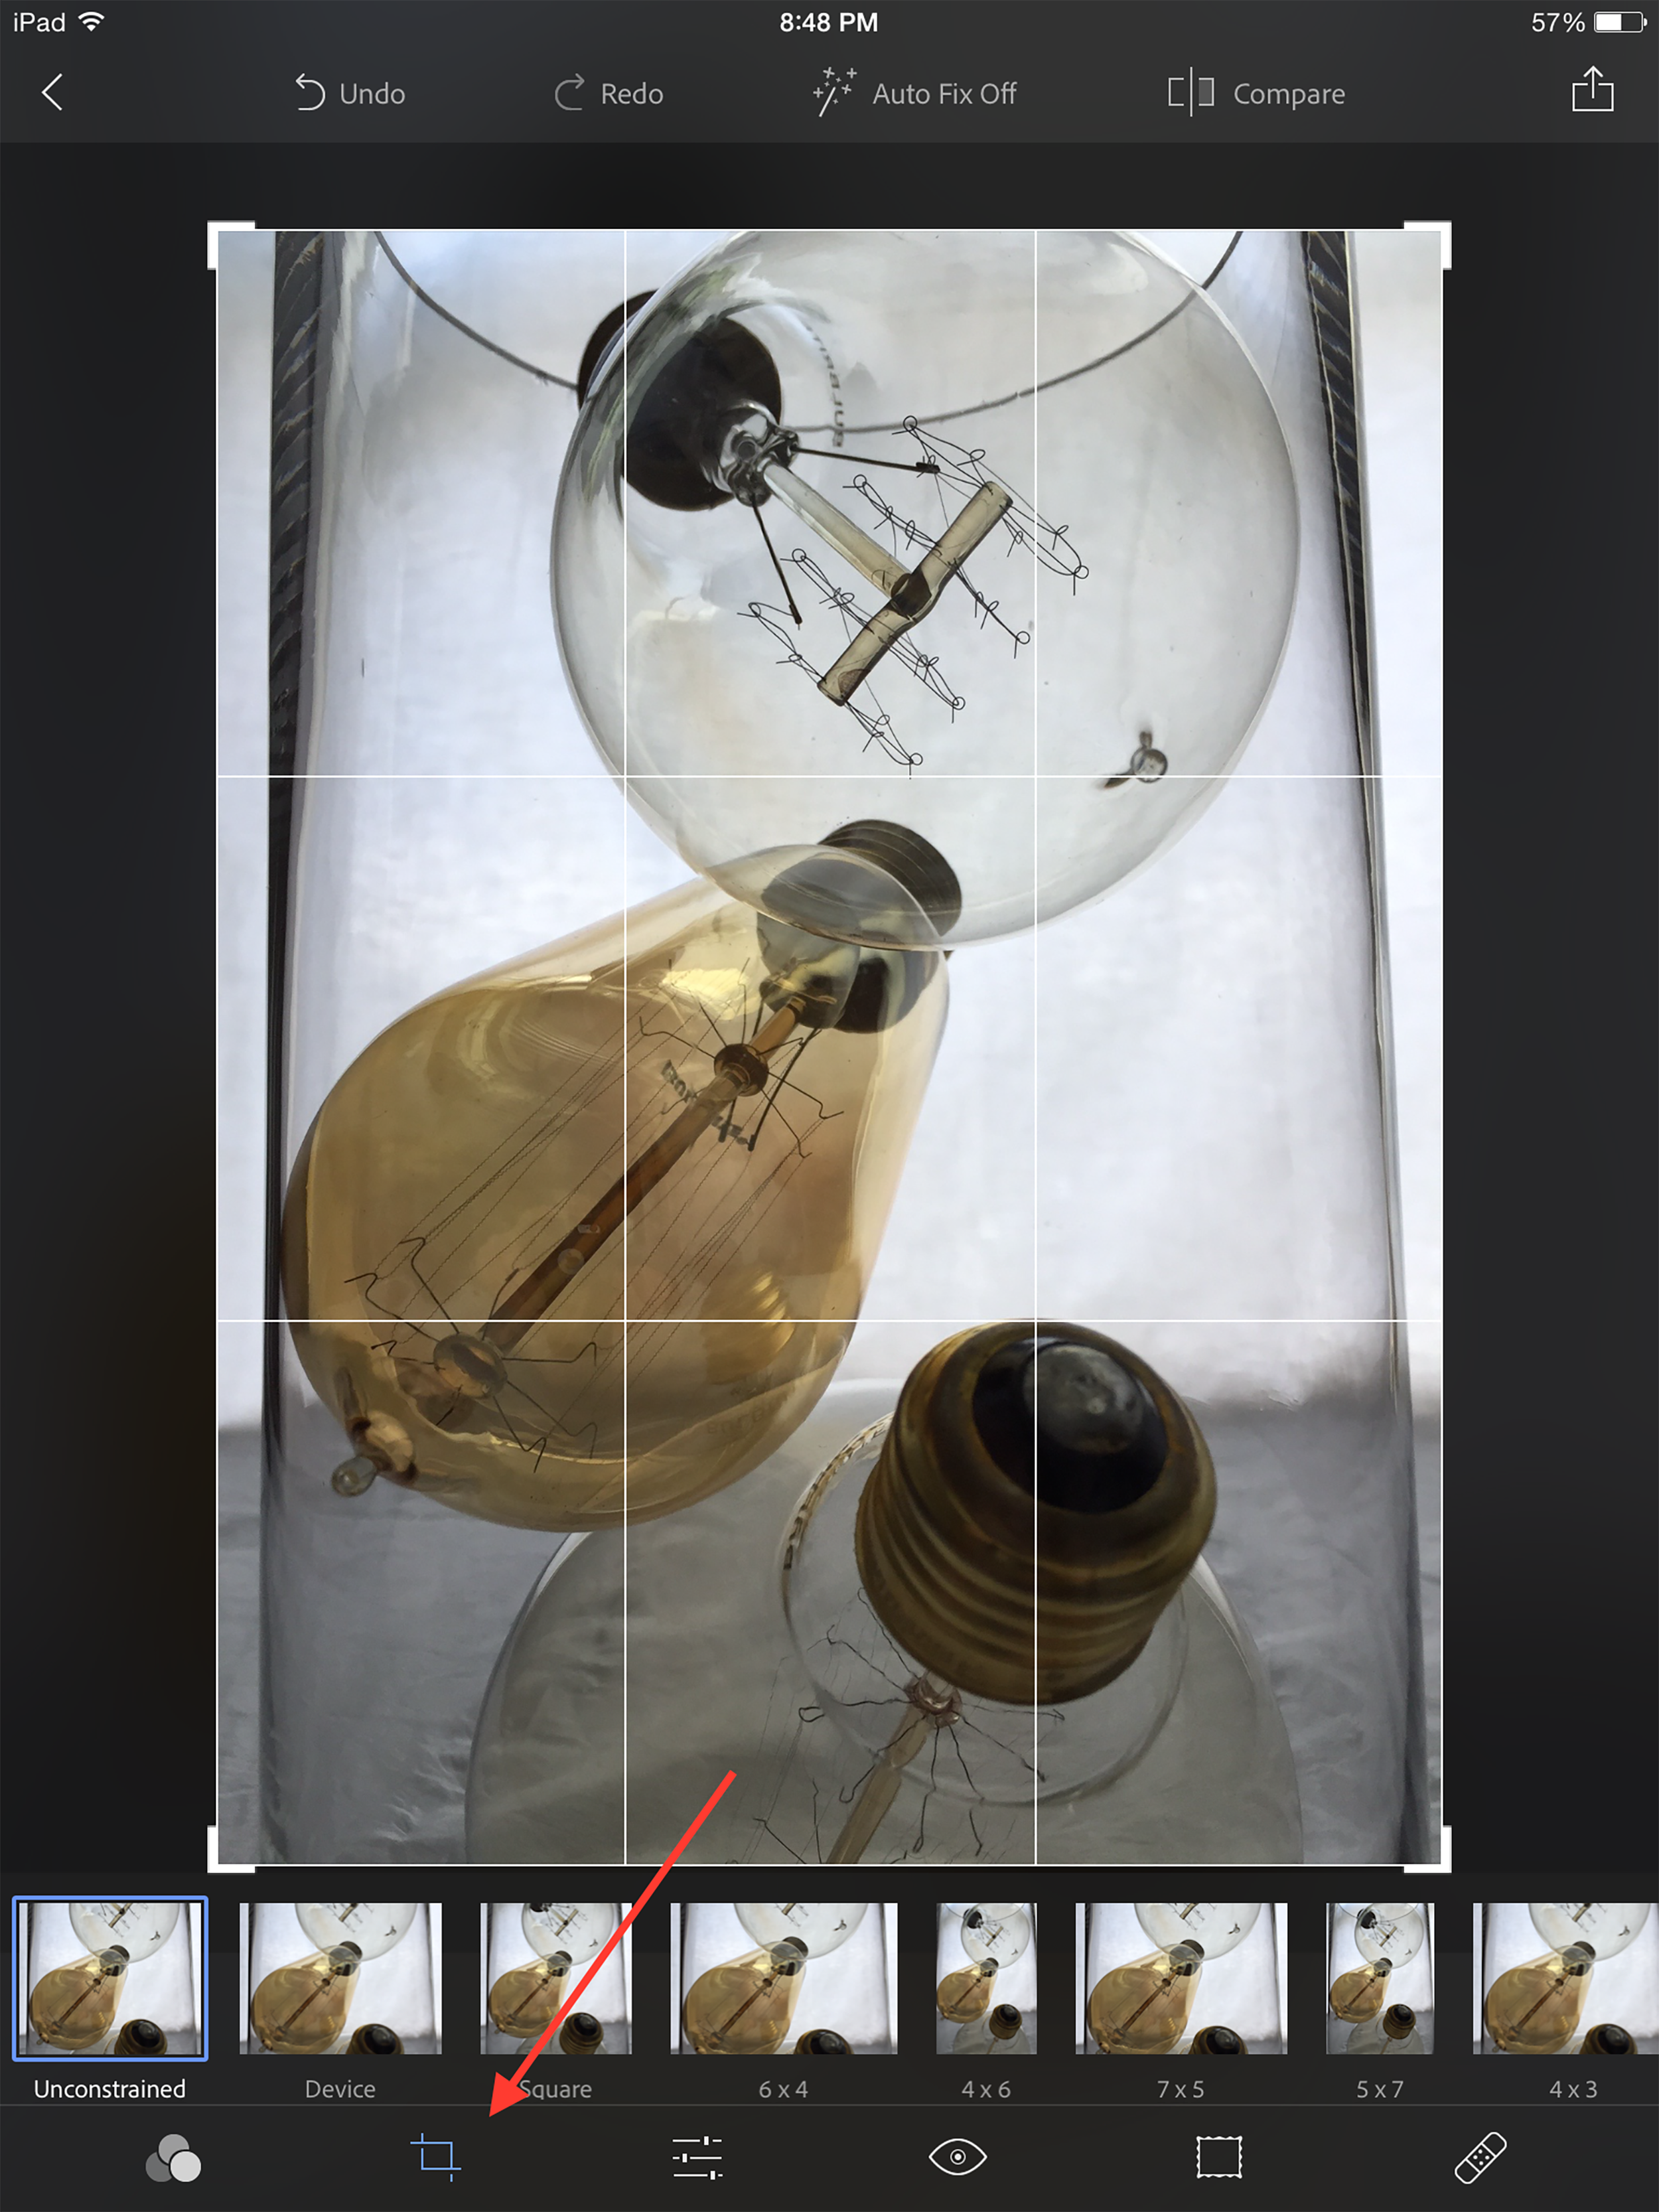
Let’s start with the source image opened in the app Photoshop Express. I use this app a lot to do my basic cropping and adjustments. It’s quick and easy! The screenshot shows the image in Express and I’ve clicked on the crop tool to tighten up the image.
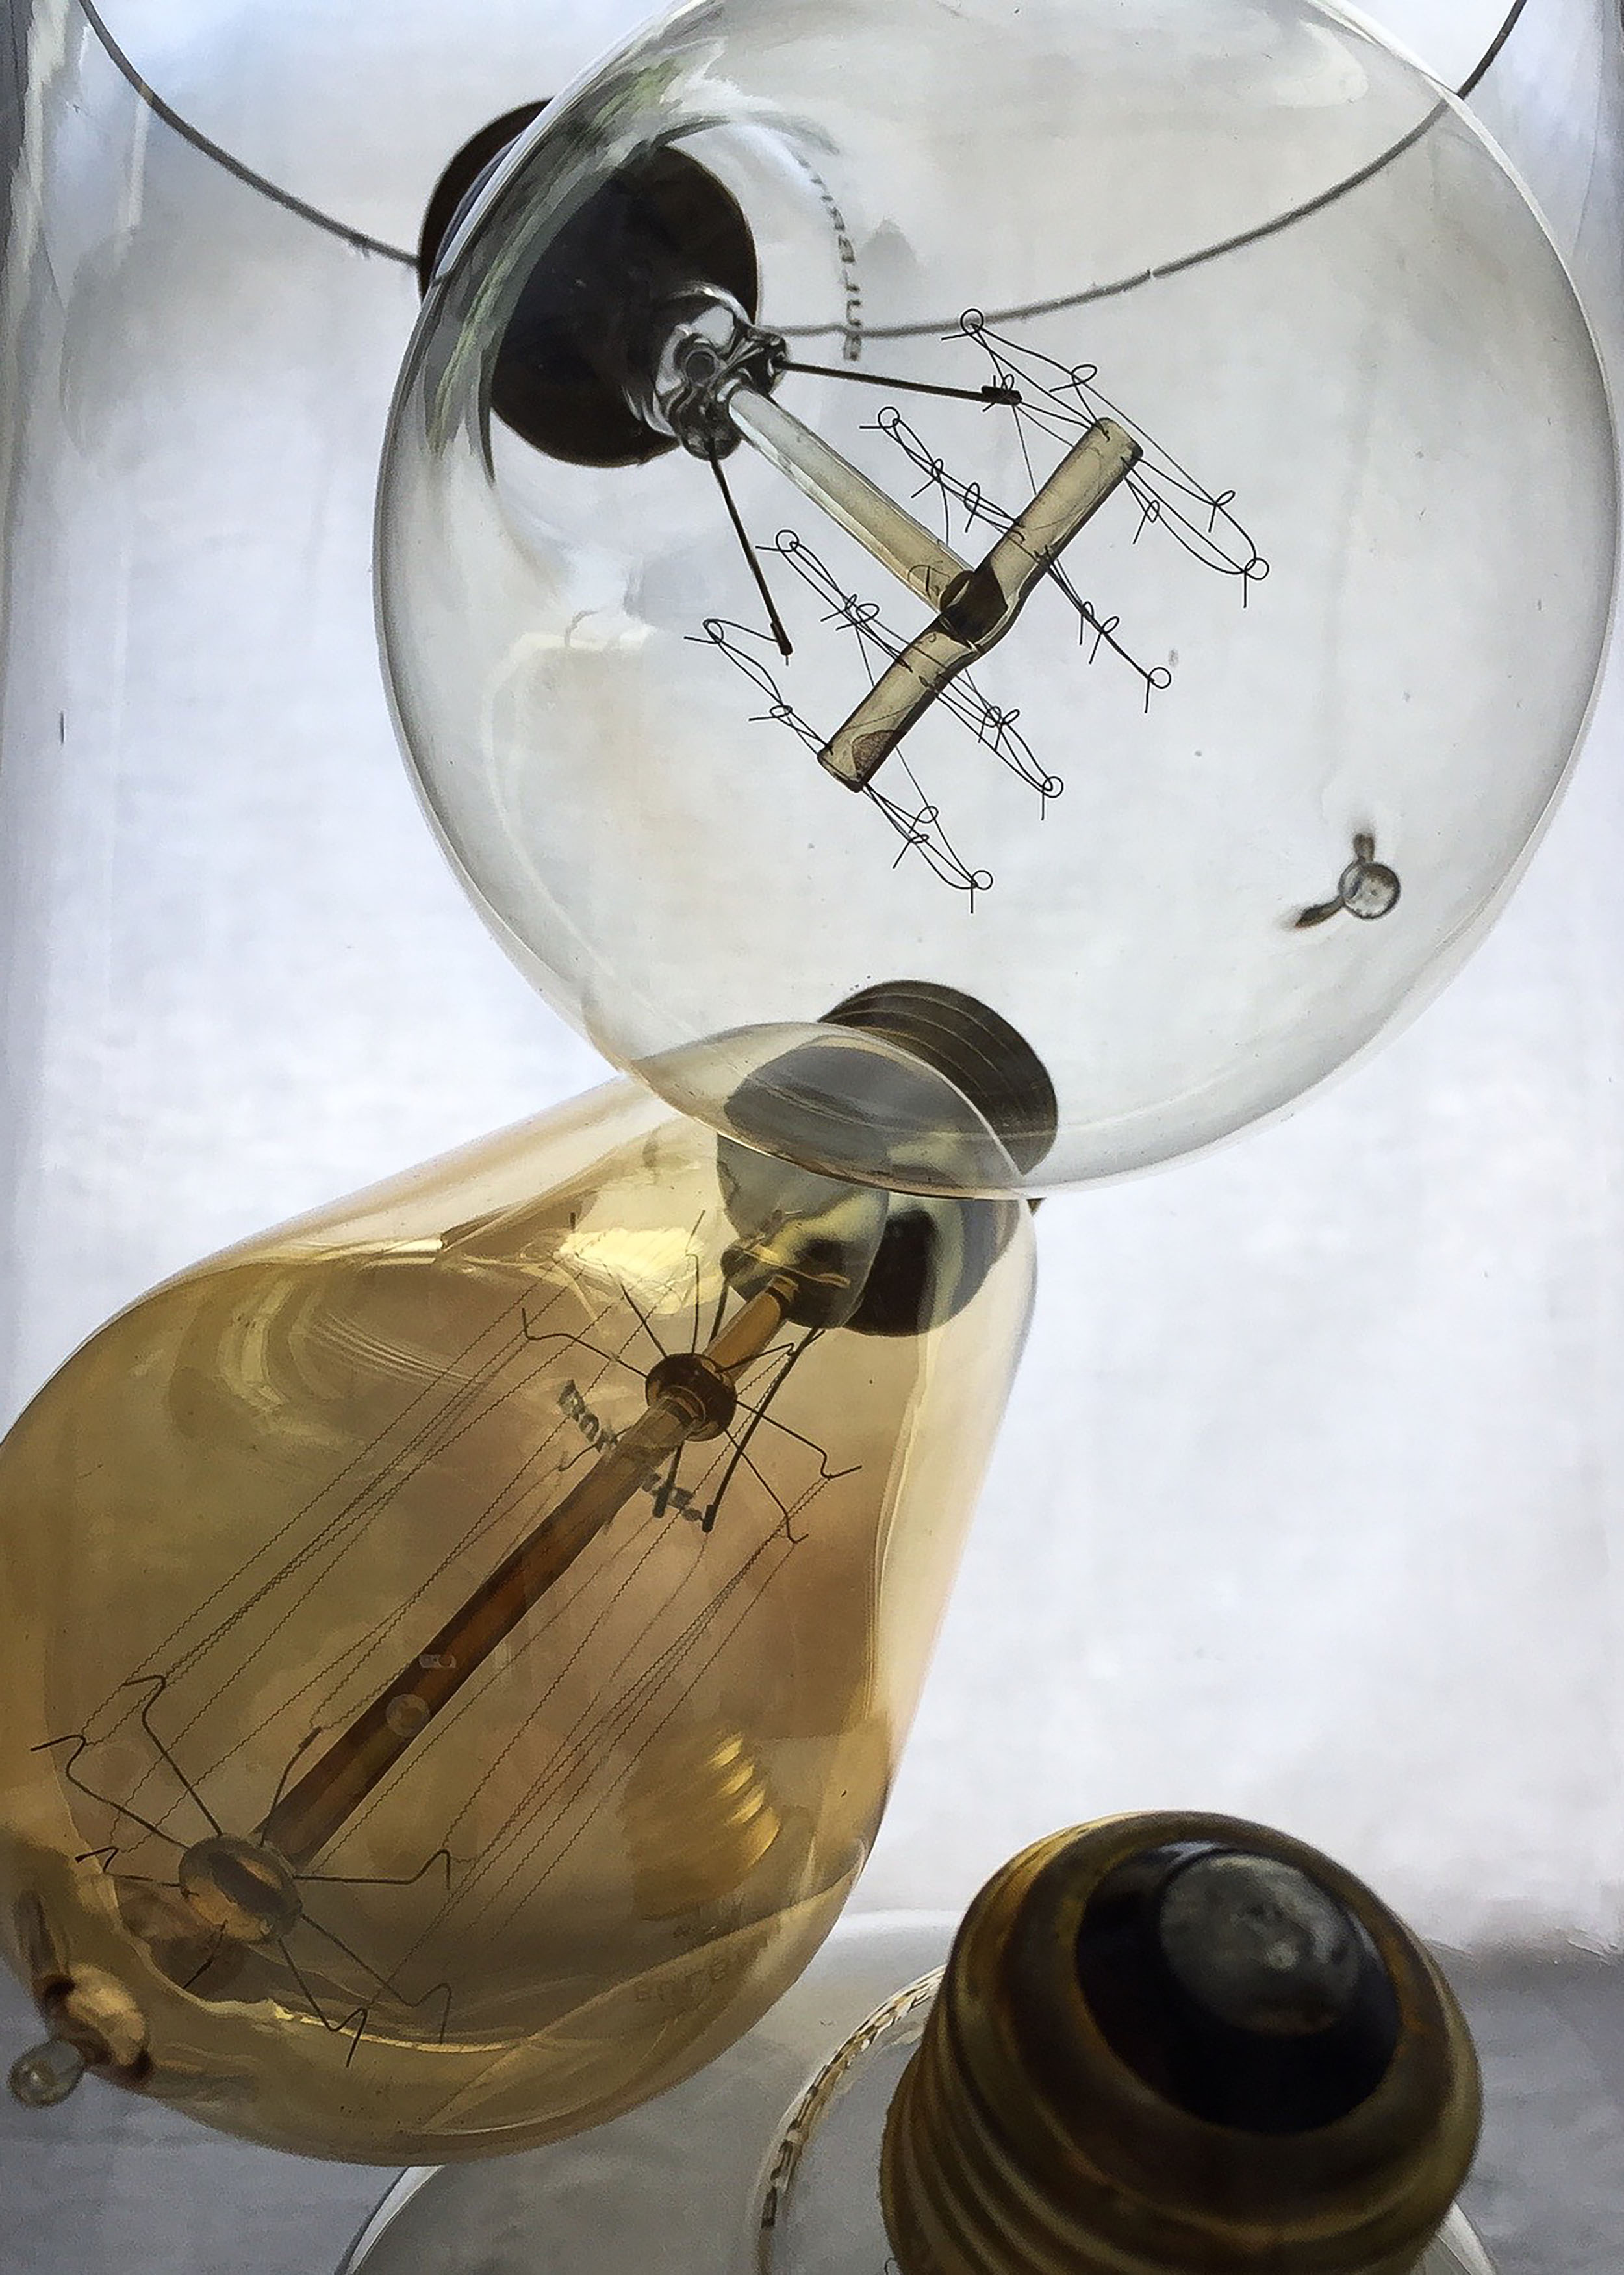
Here’s what I settled on for my working version.
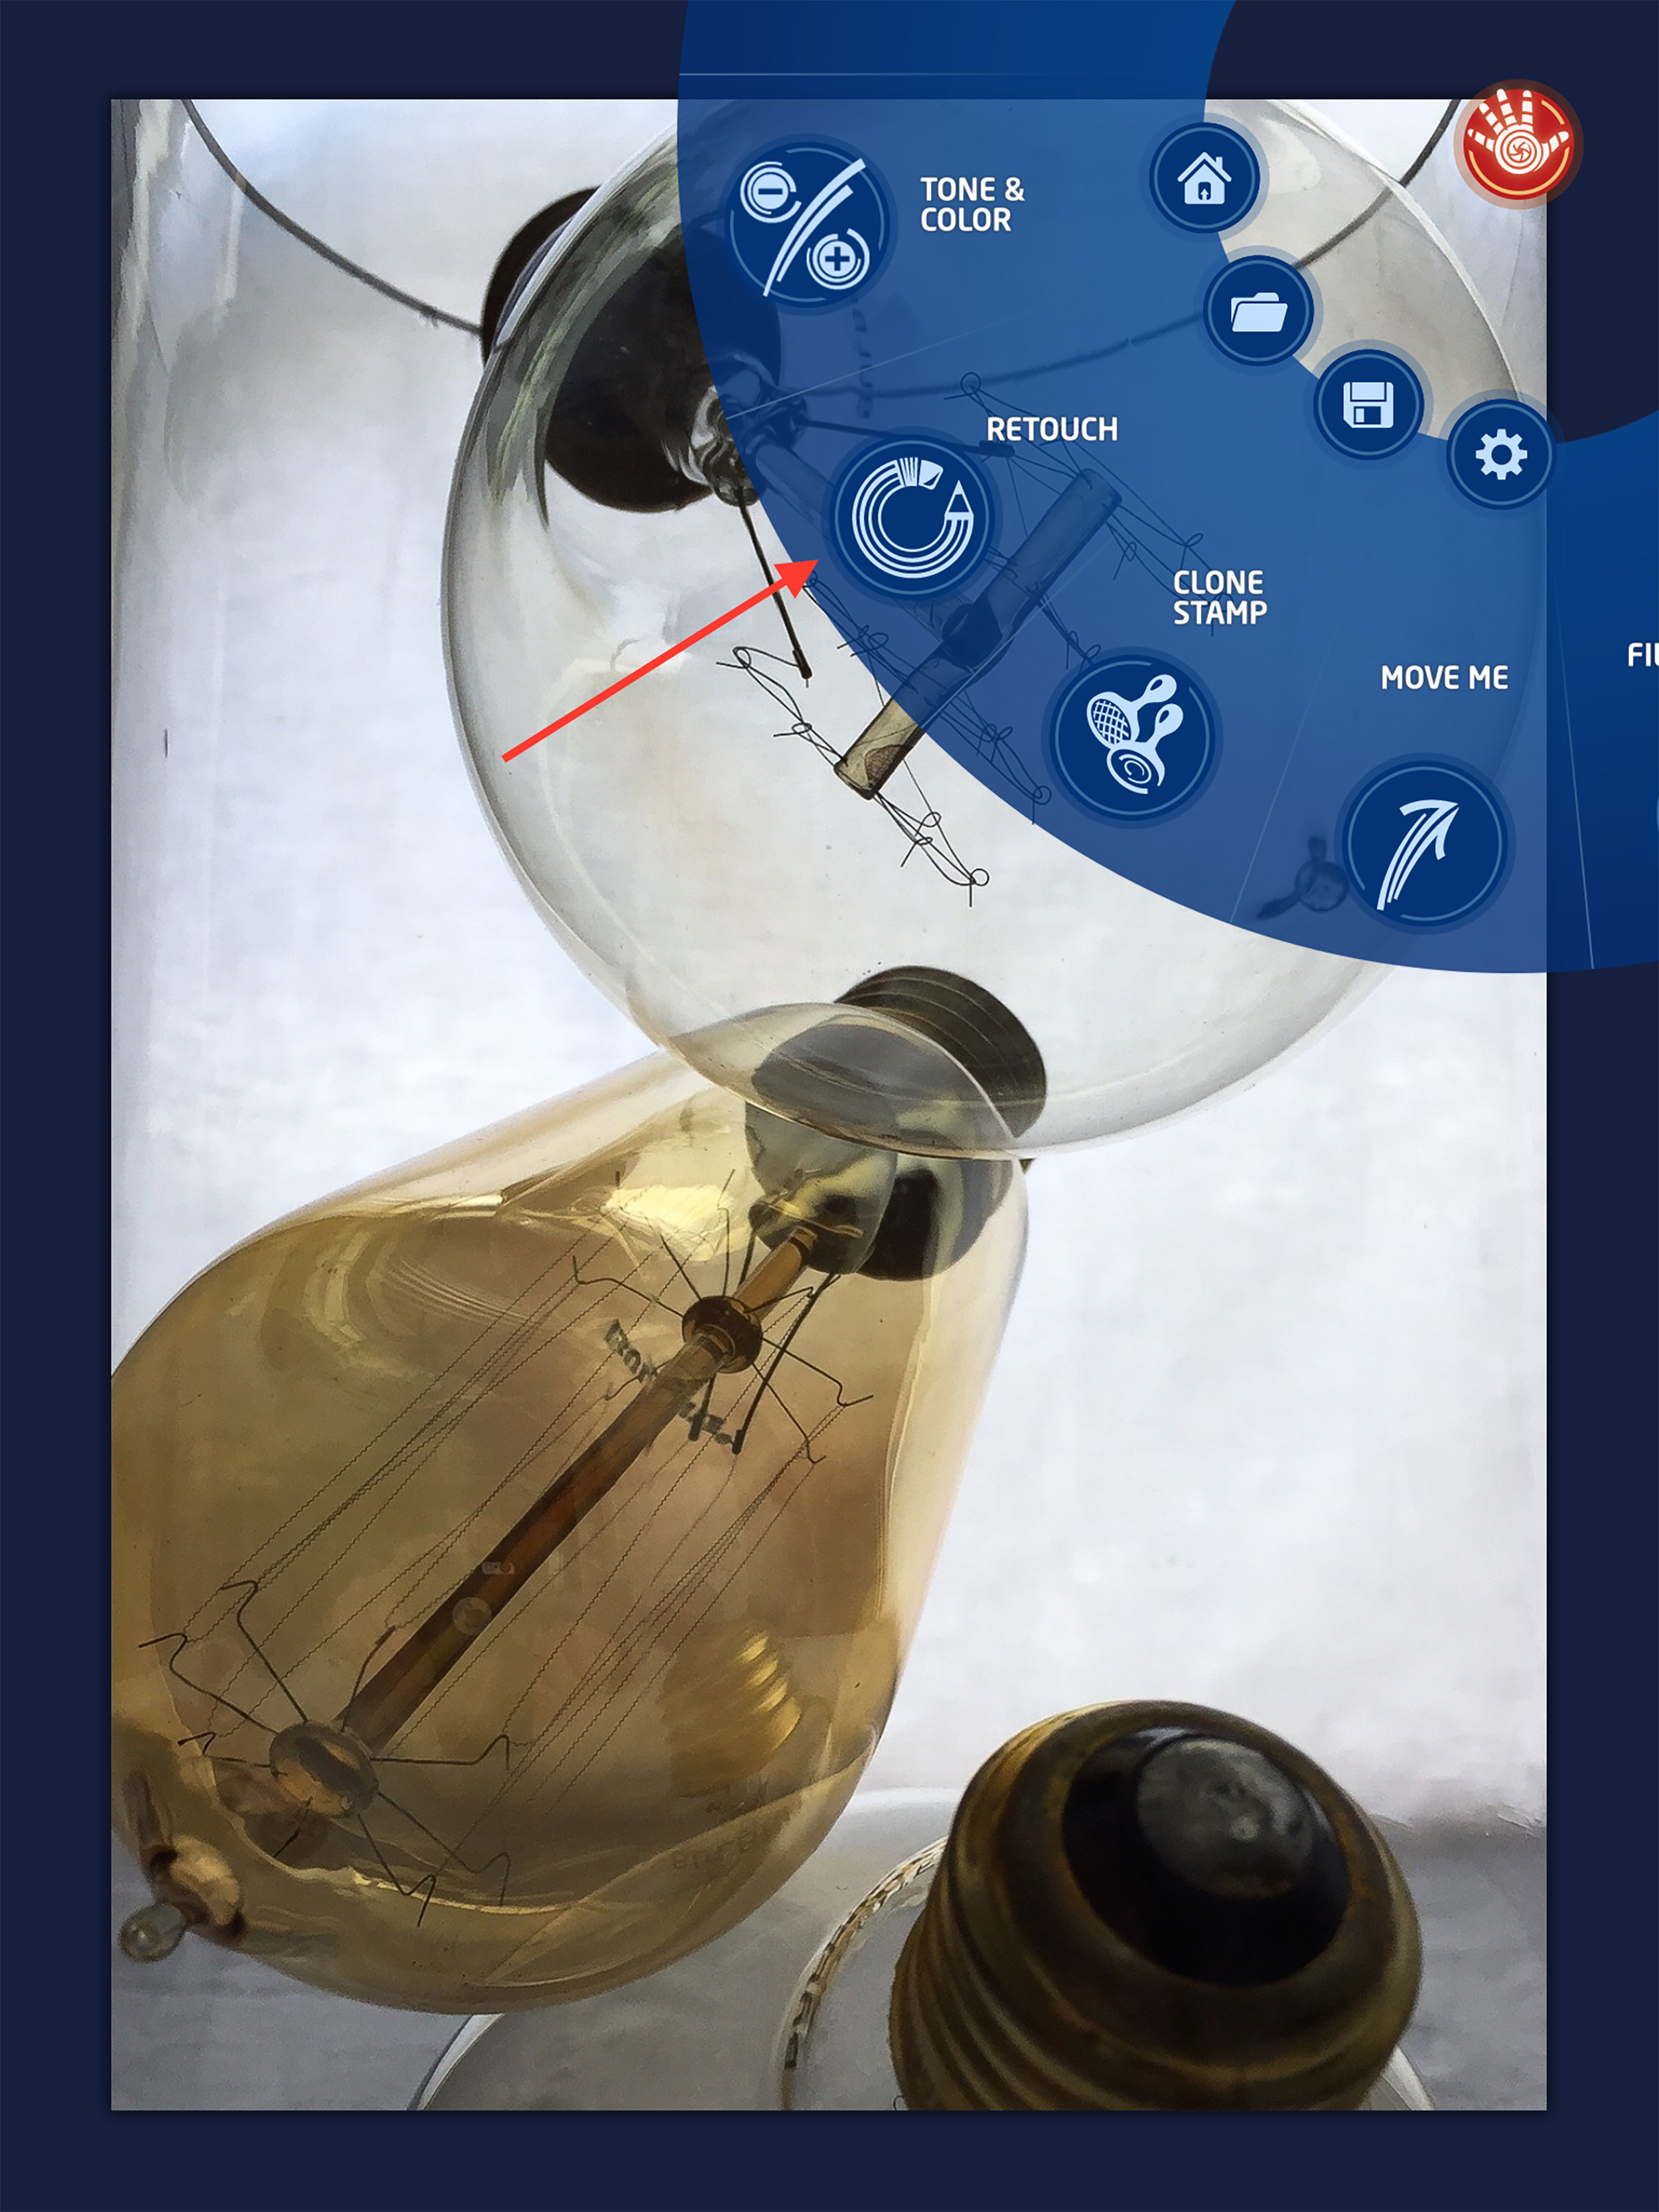
Next up was a trip to the app, Handy Photo, to remove some “distractions” from my image using the “Retouch” tool.
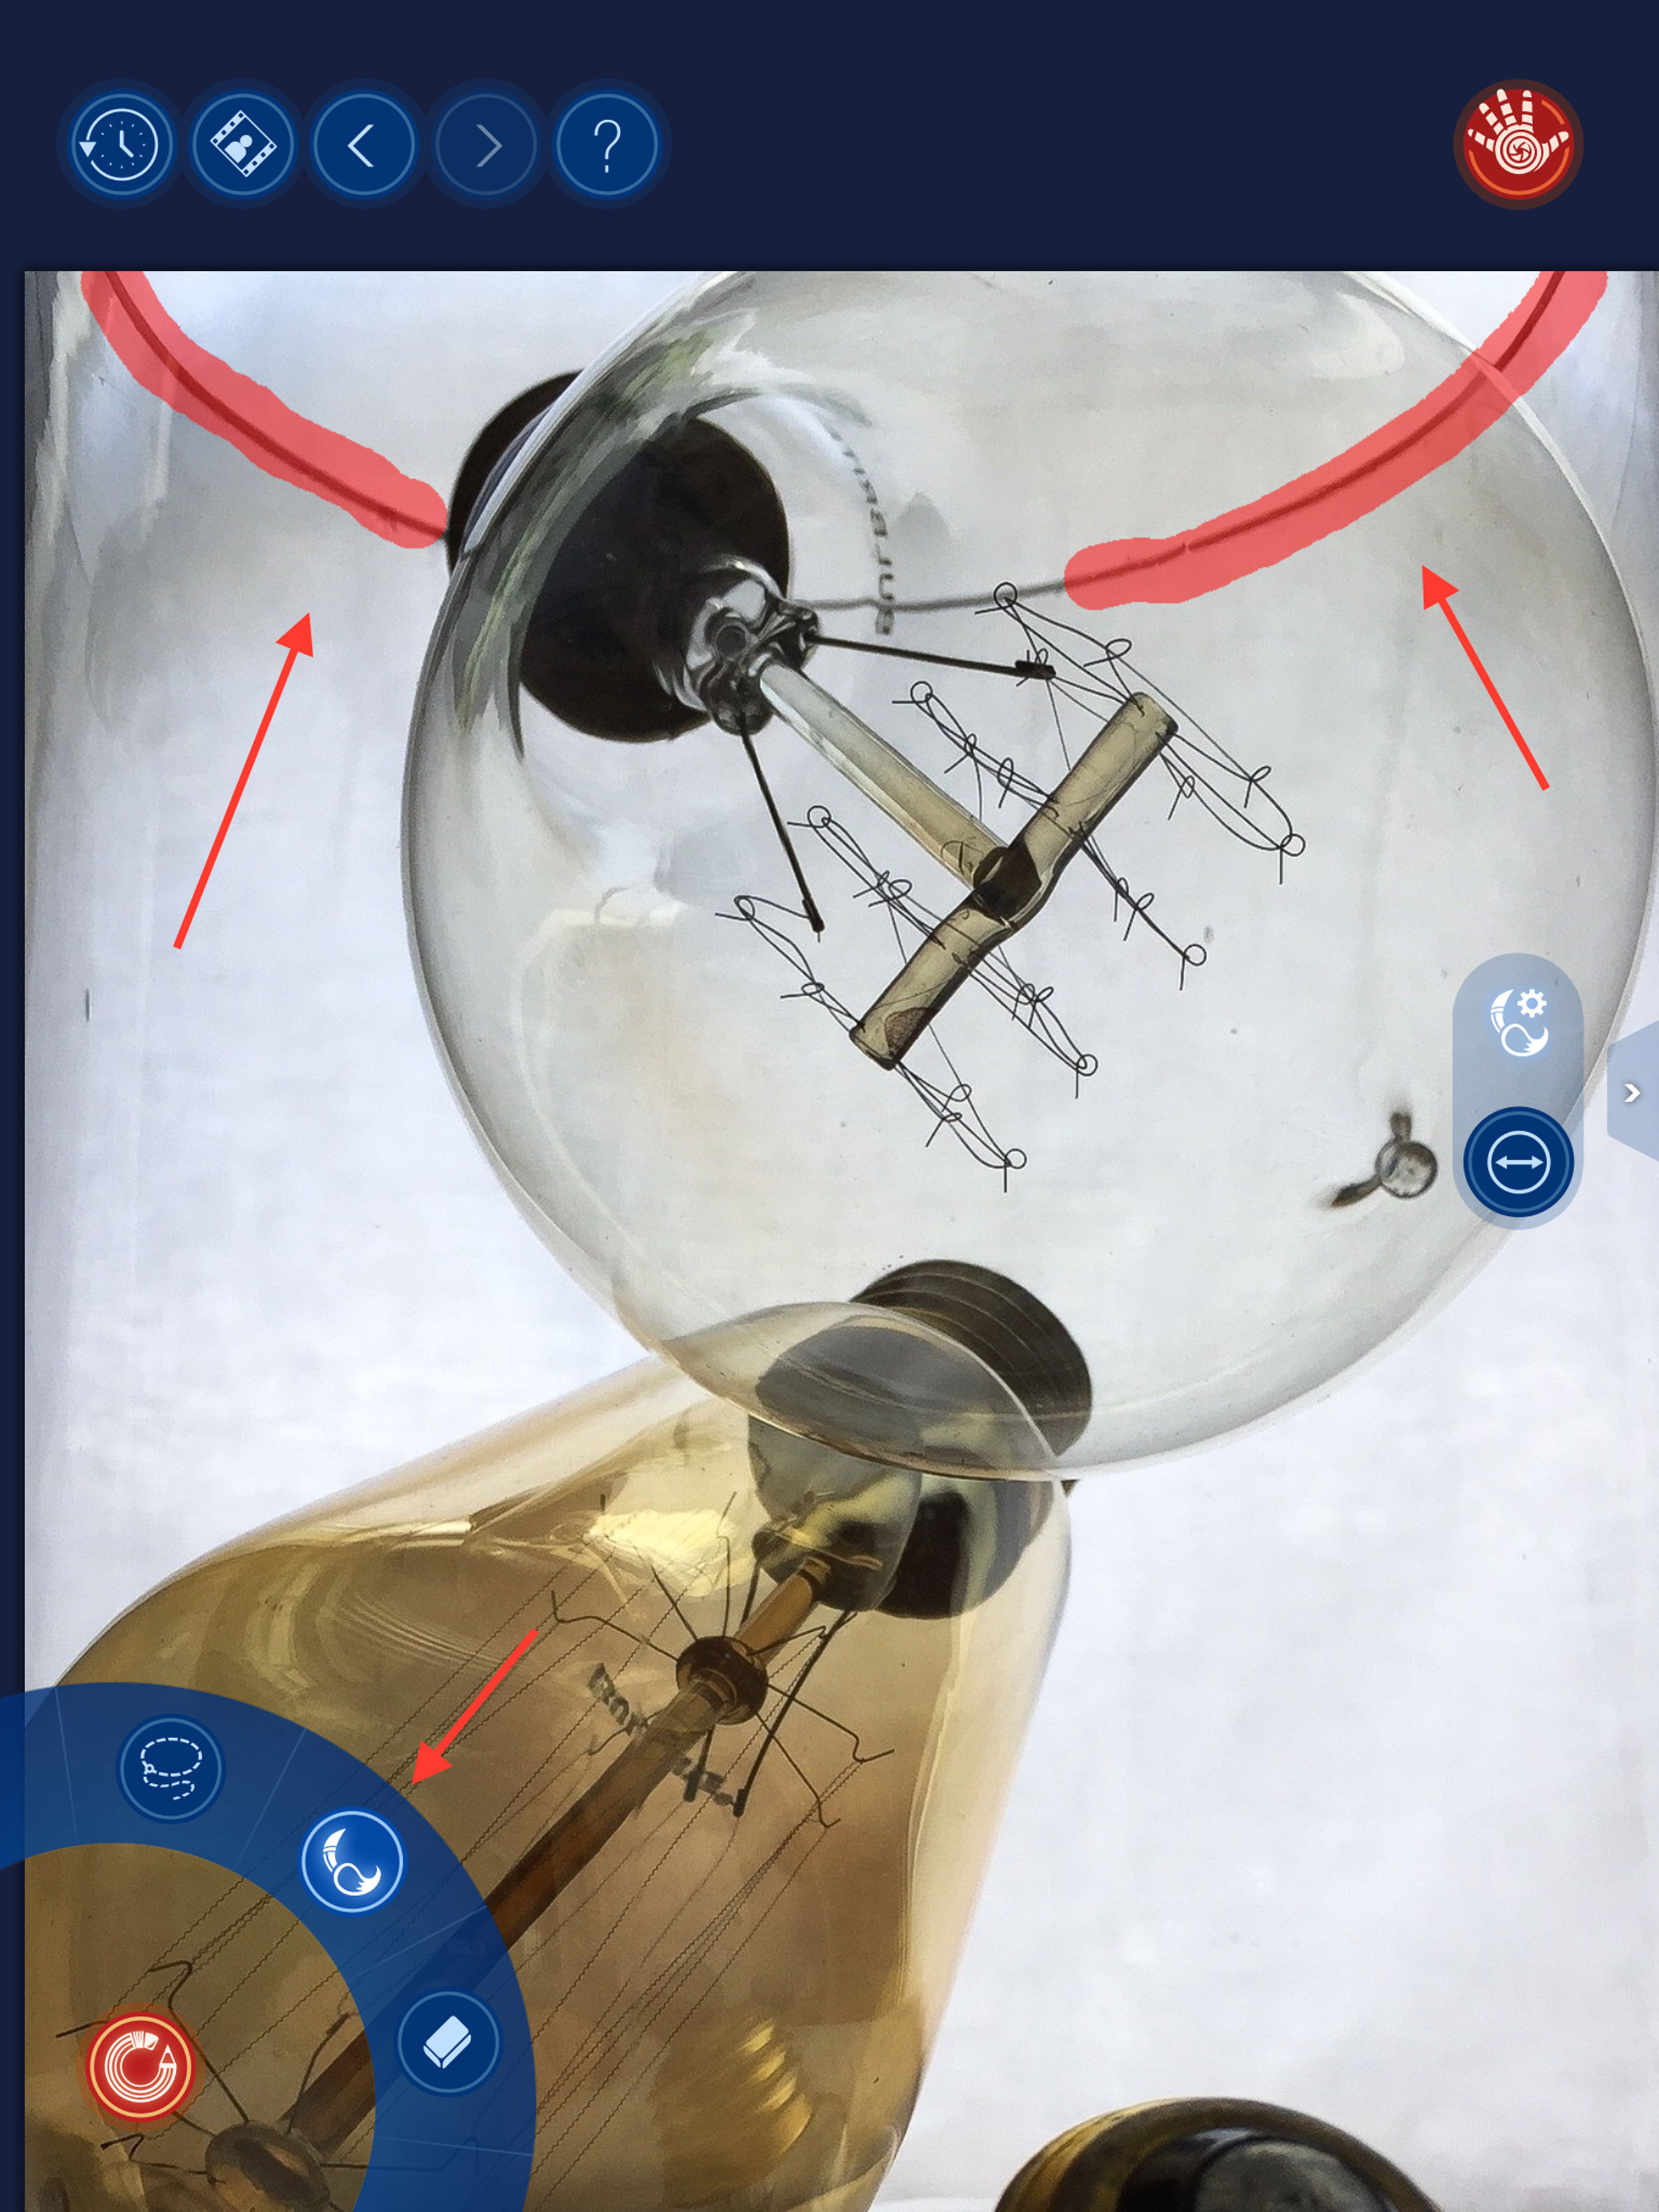
With “Retouch” in play, I painted the glass jar lines and touched the screen to put Handy Photo’s magic to work!
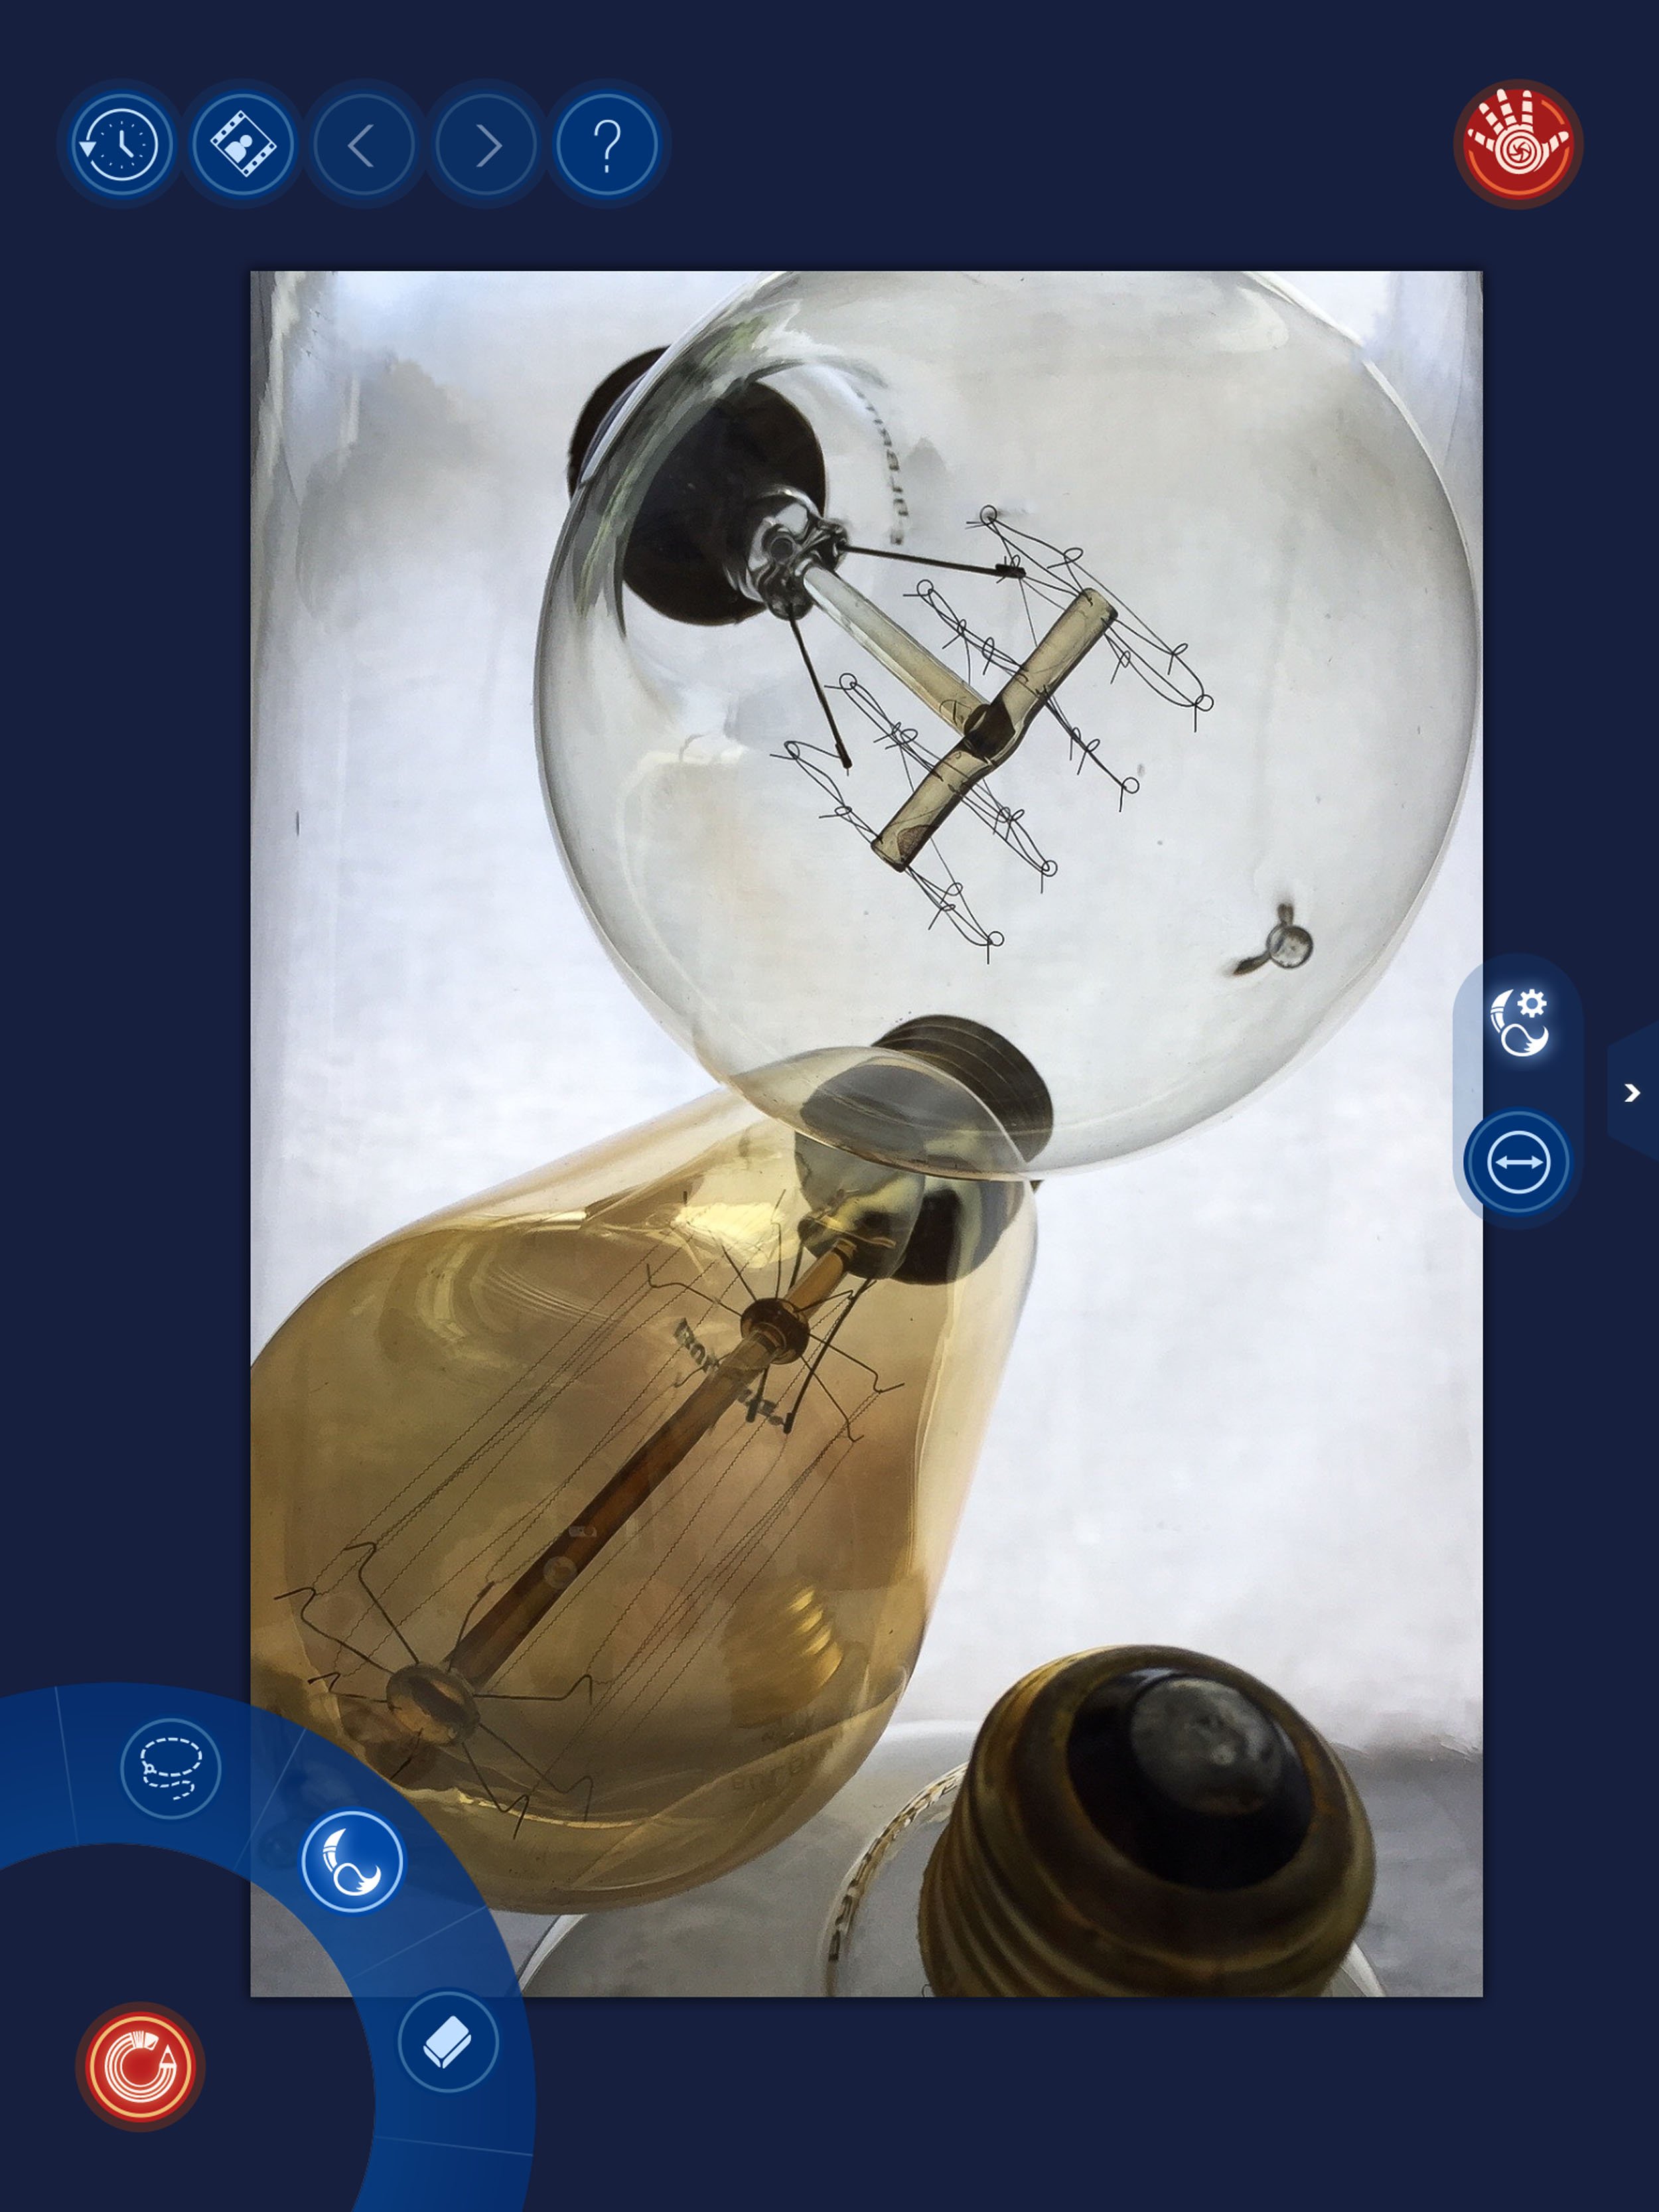
After removing the vase top line and some other spots I’m ready to go to Laminar Pro for some real fun!
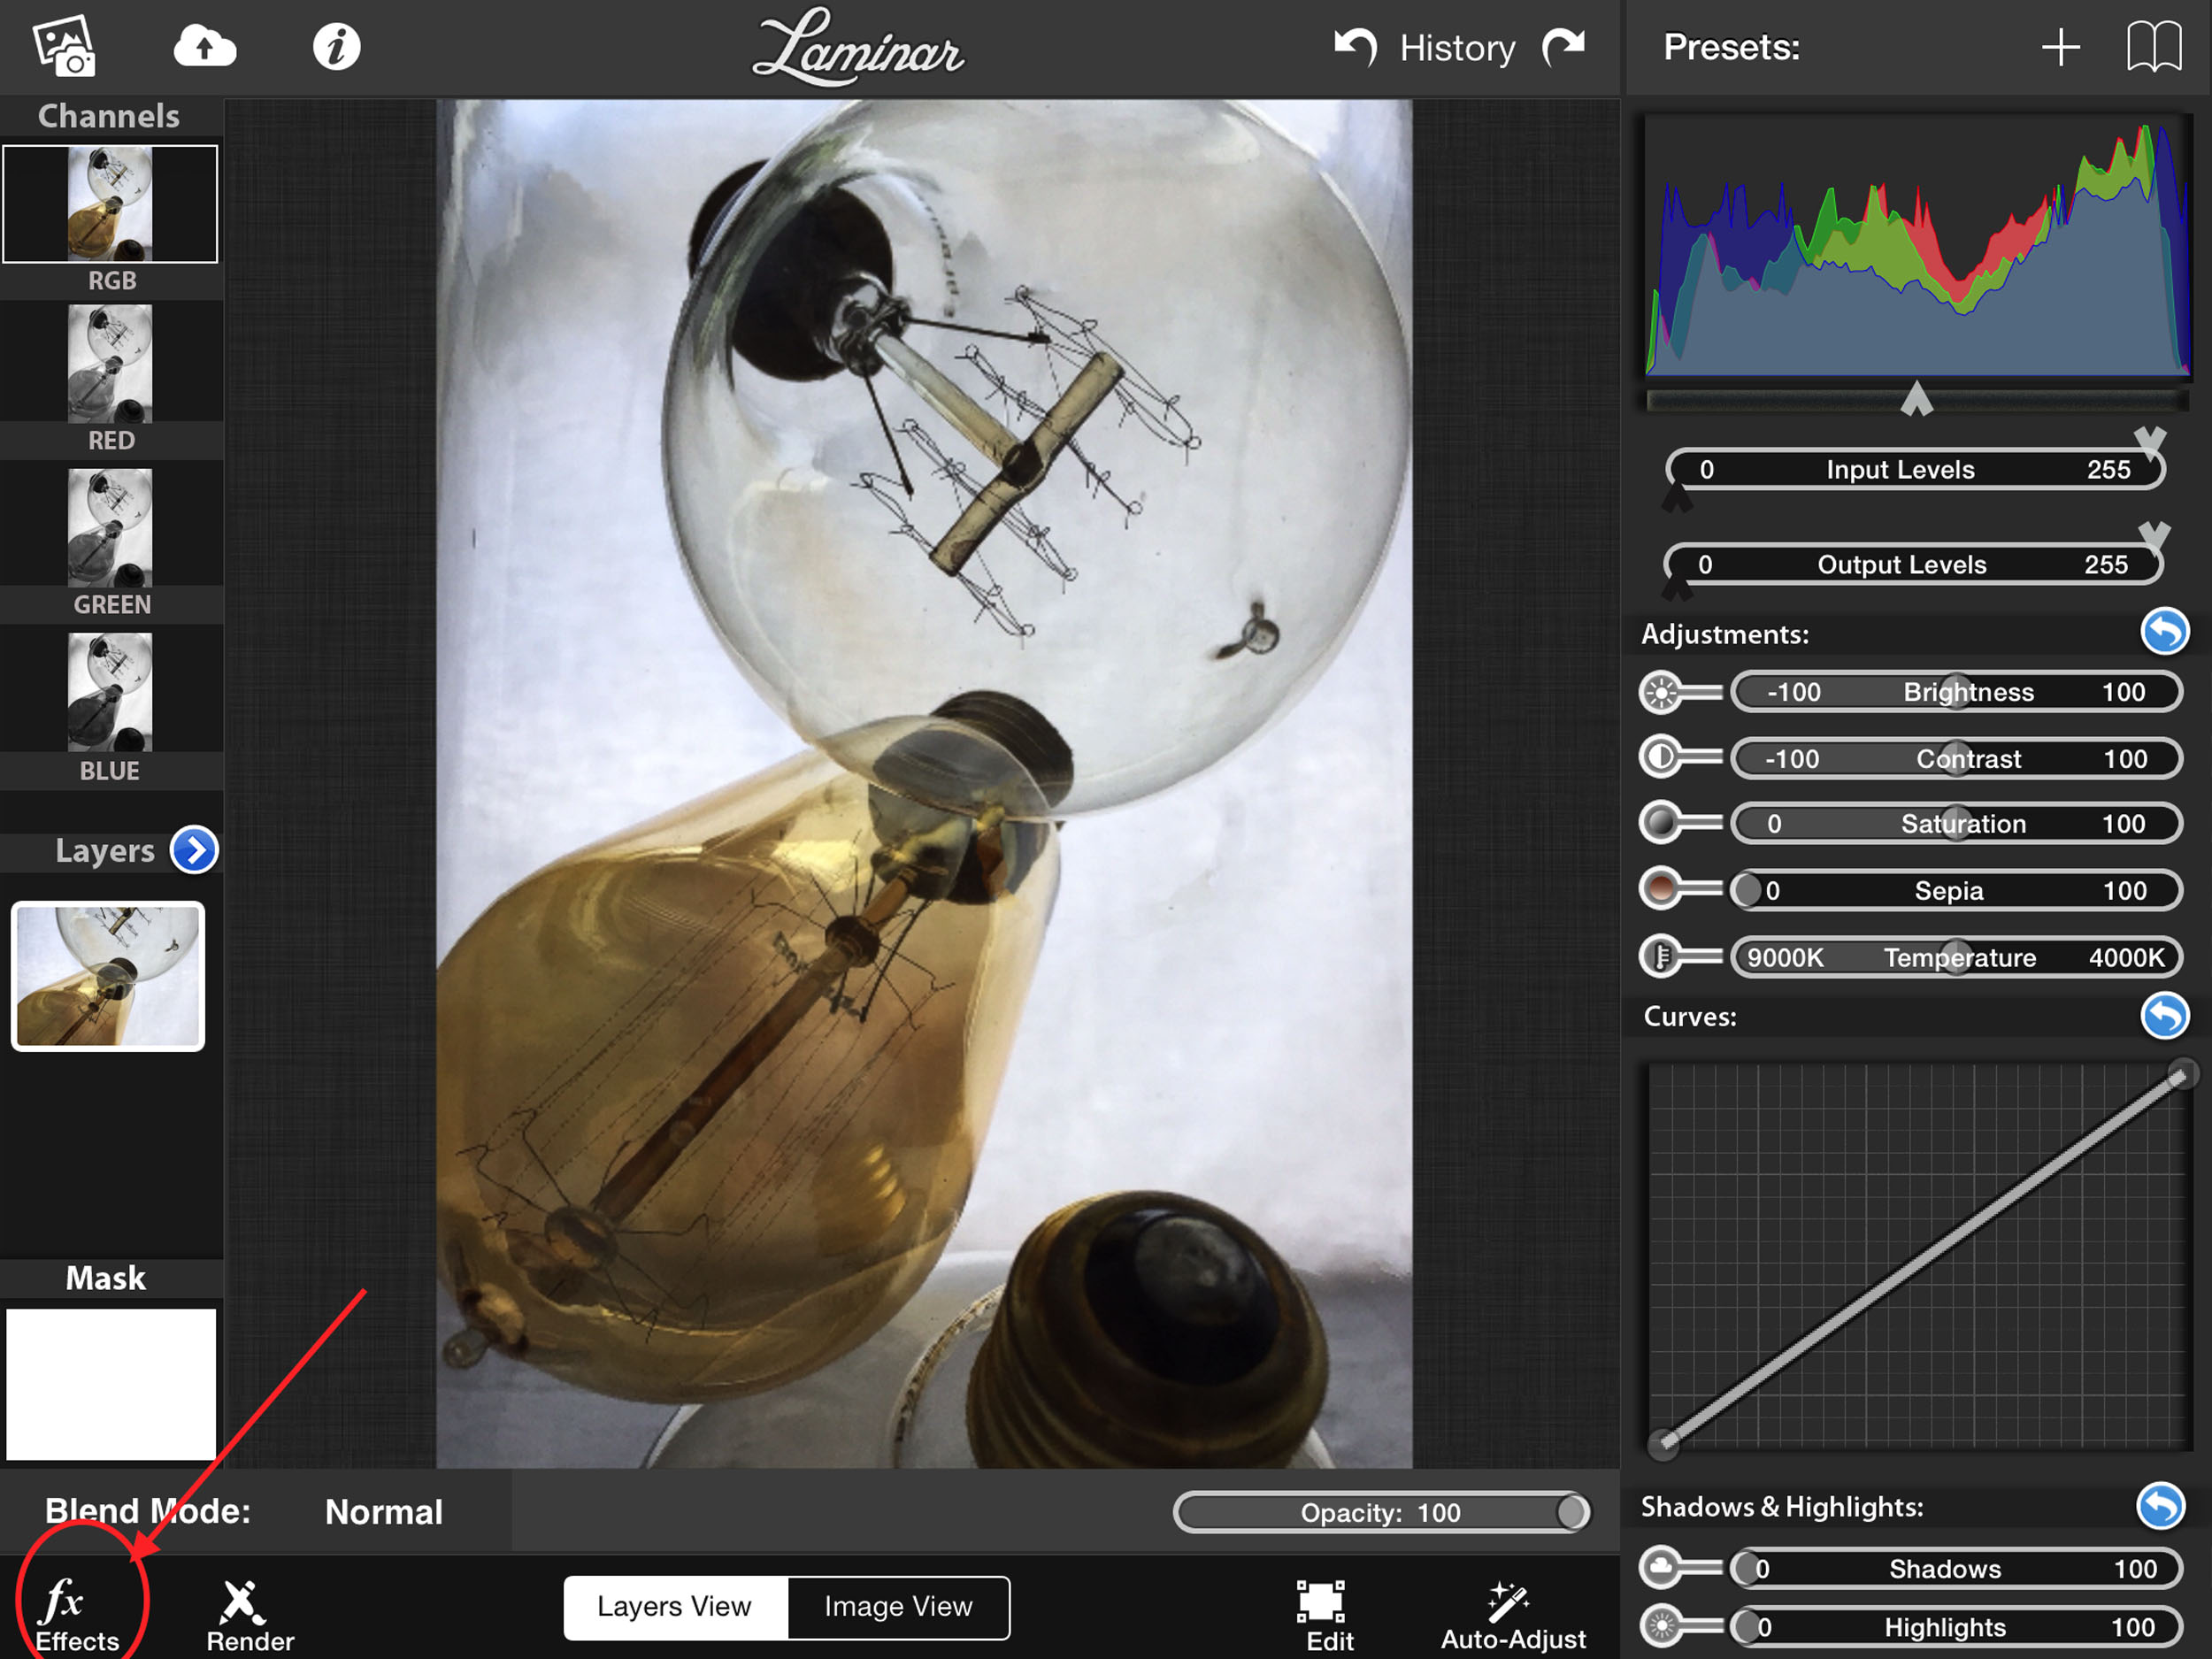
Laminar Pro is one of those great do everything apps that I have in my toolbox. For this image I just wanted to use a couple of it’s fx effects…so I clicked on that icon in the lower left corner.
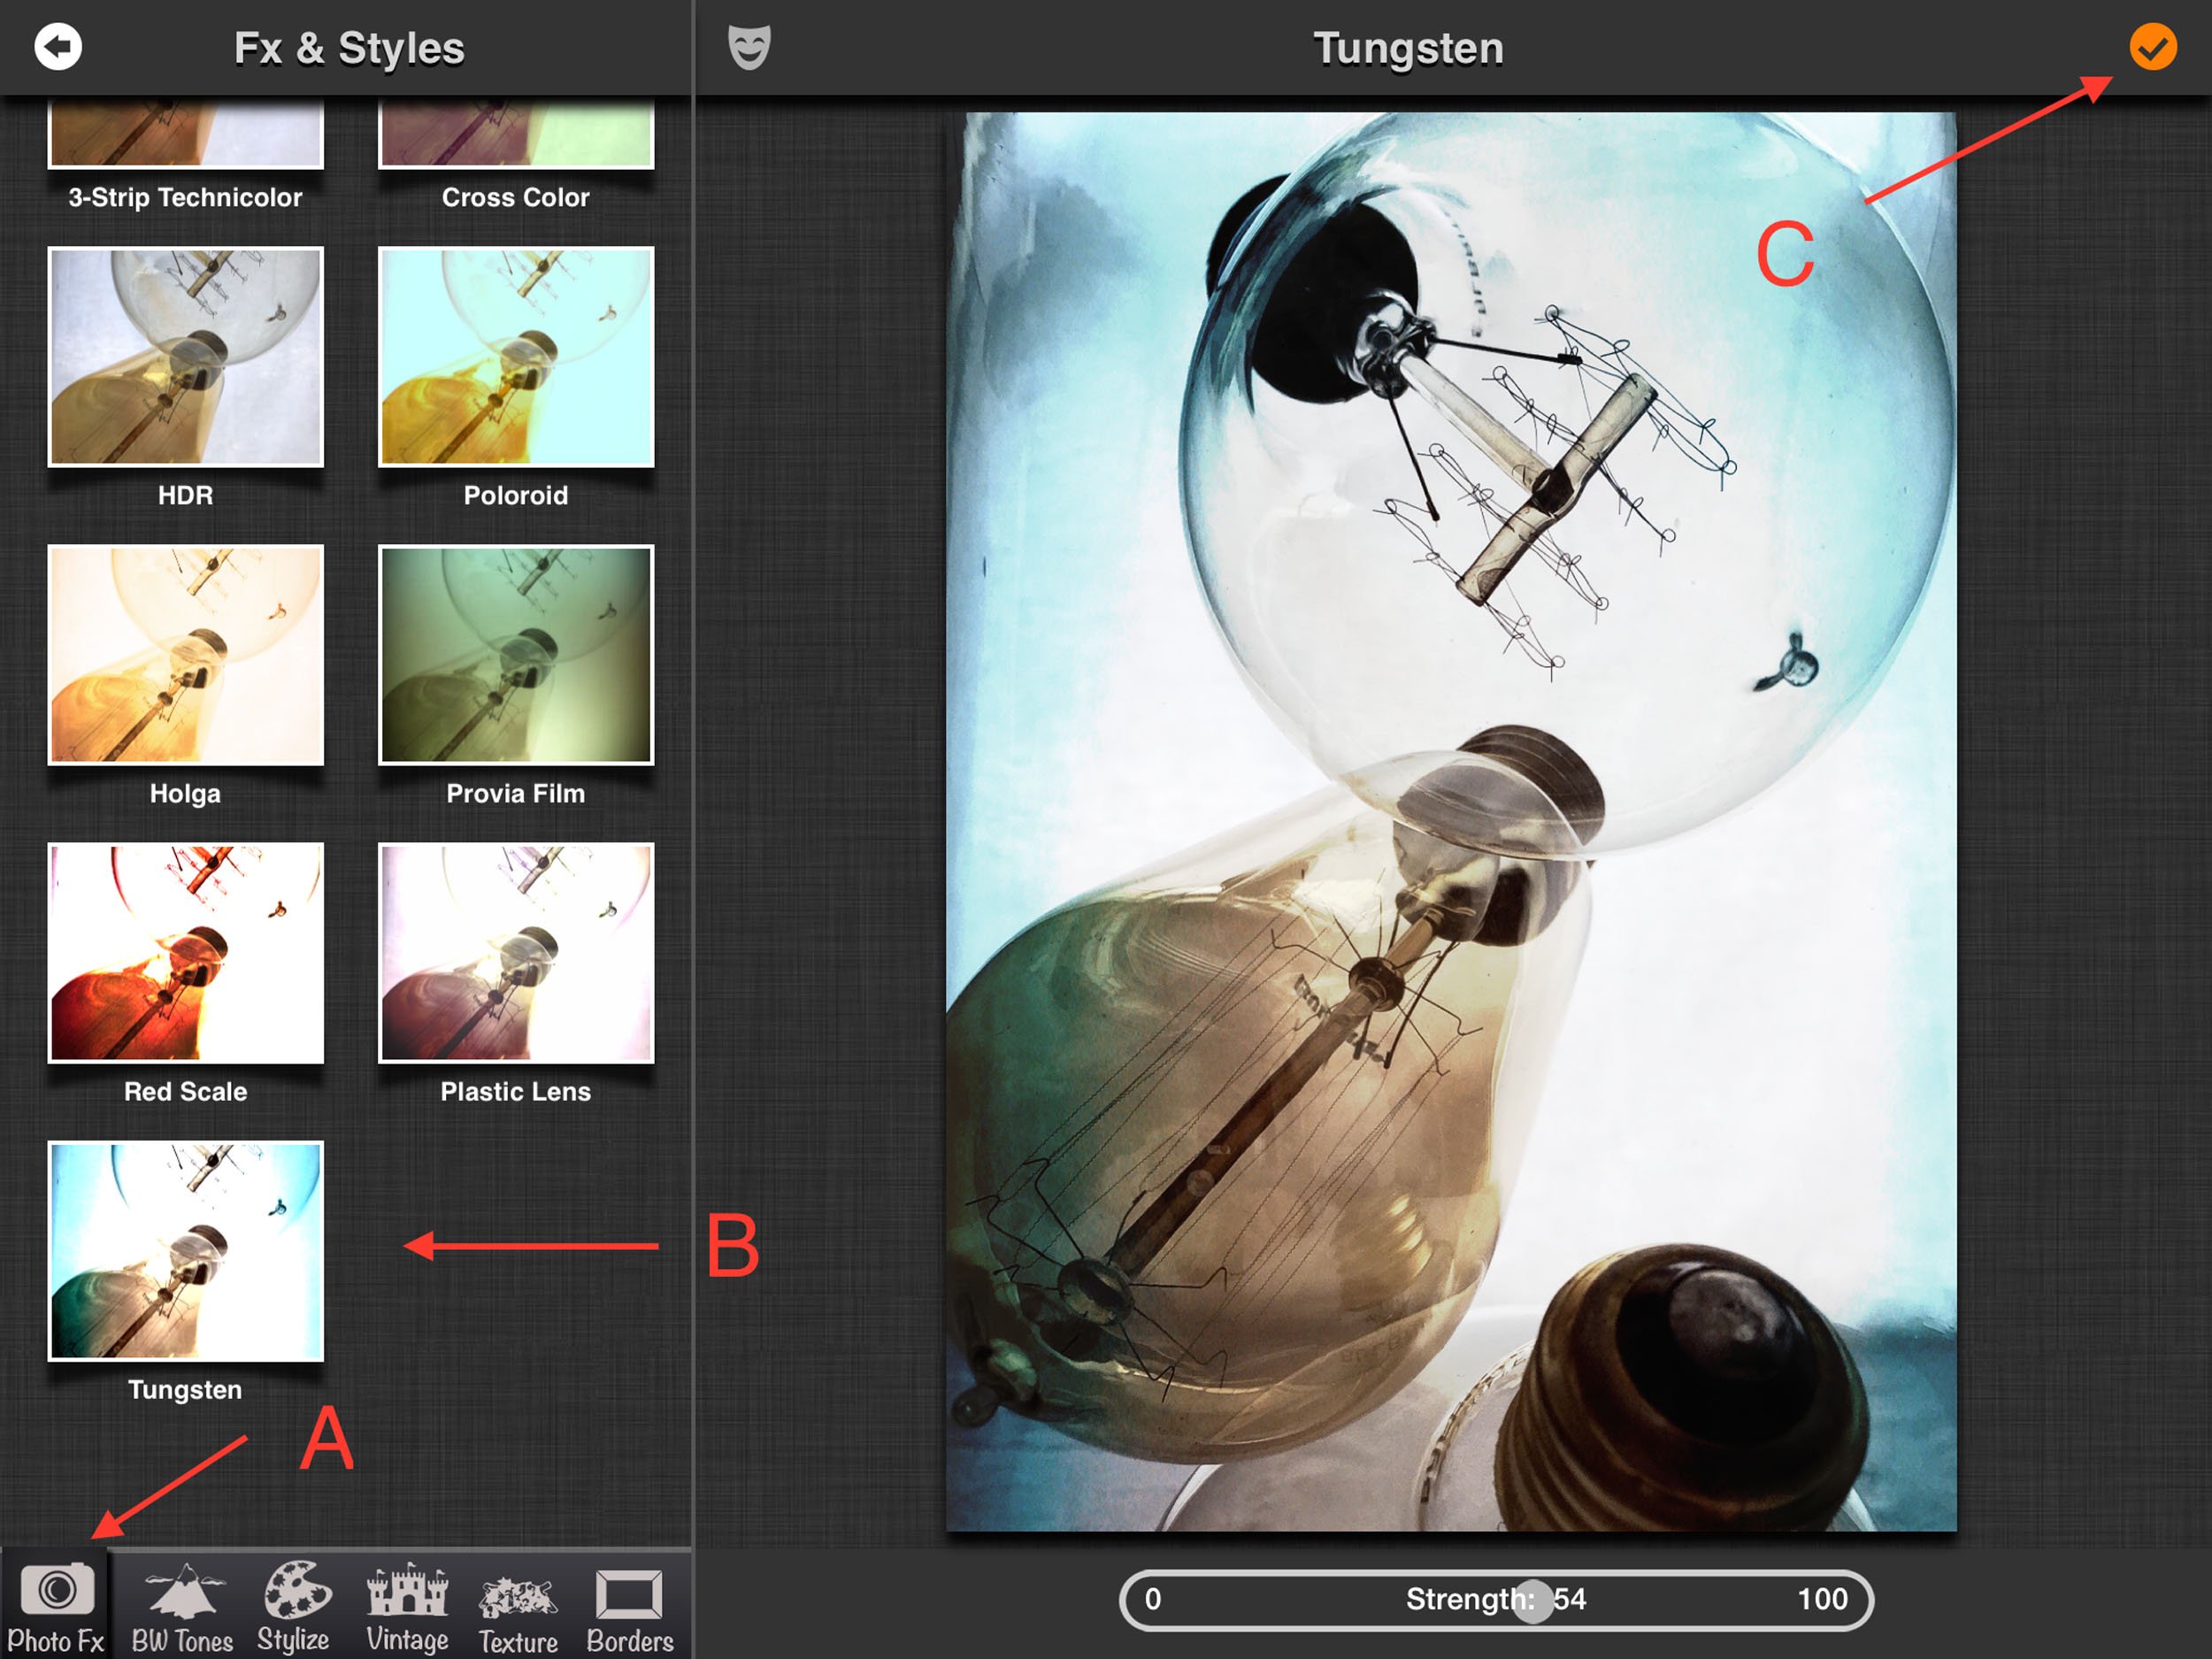
First effect I went for is in the “Photo Fx” style (A)…”Tungsten” (B)! After a bit of adjusting using the slider bar, I clicked on the check mark (C) to put this into place.
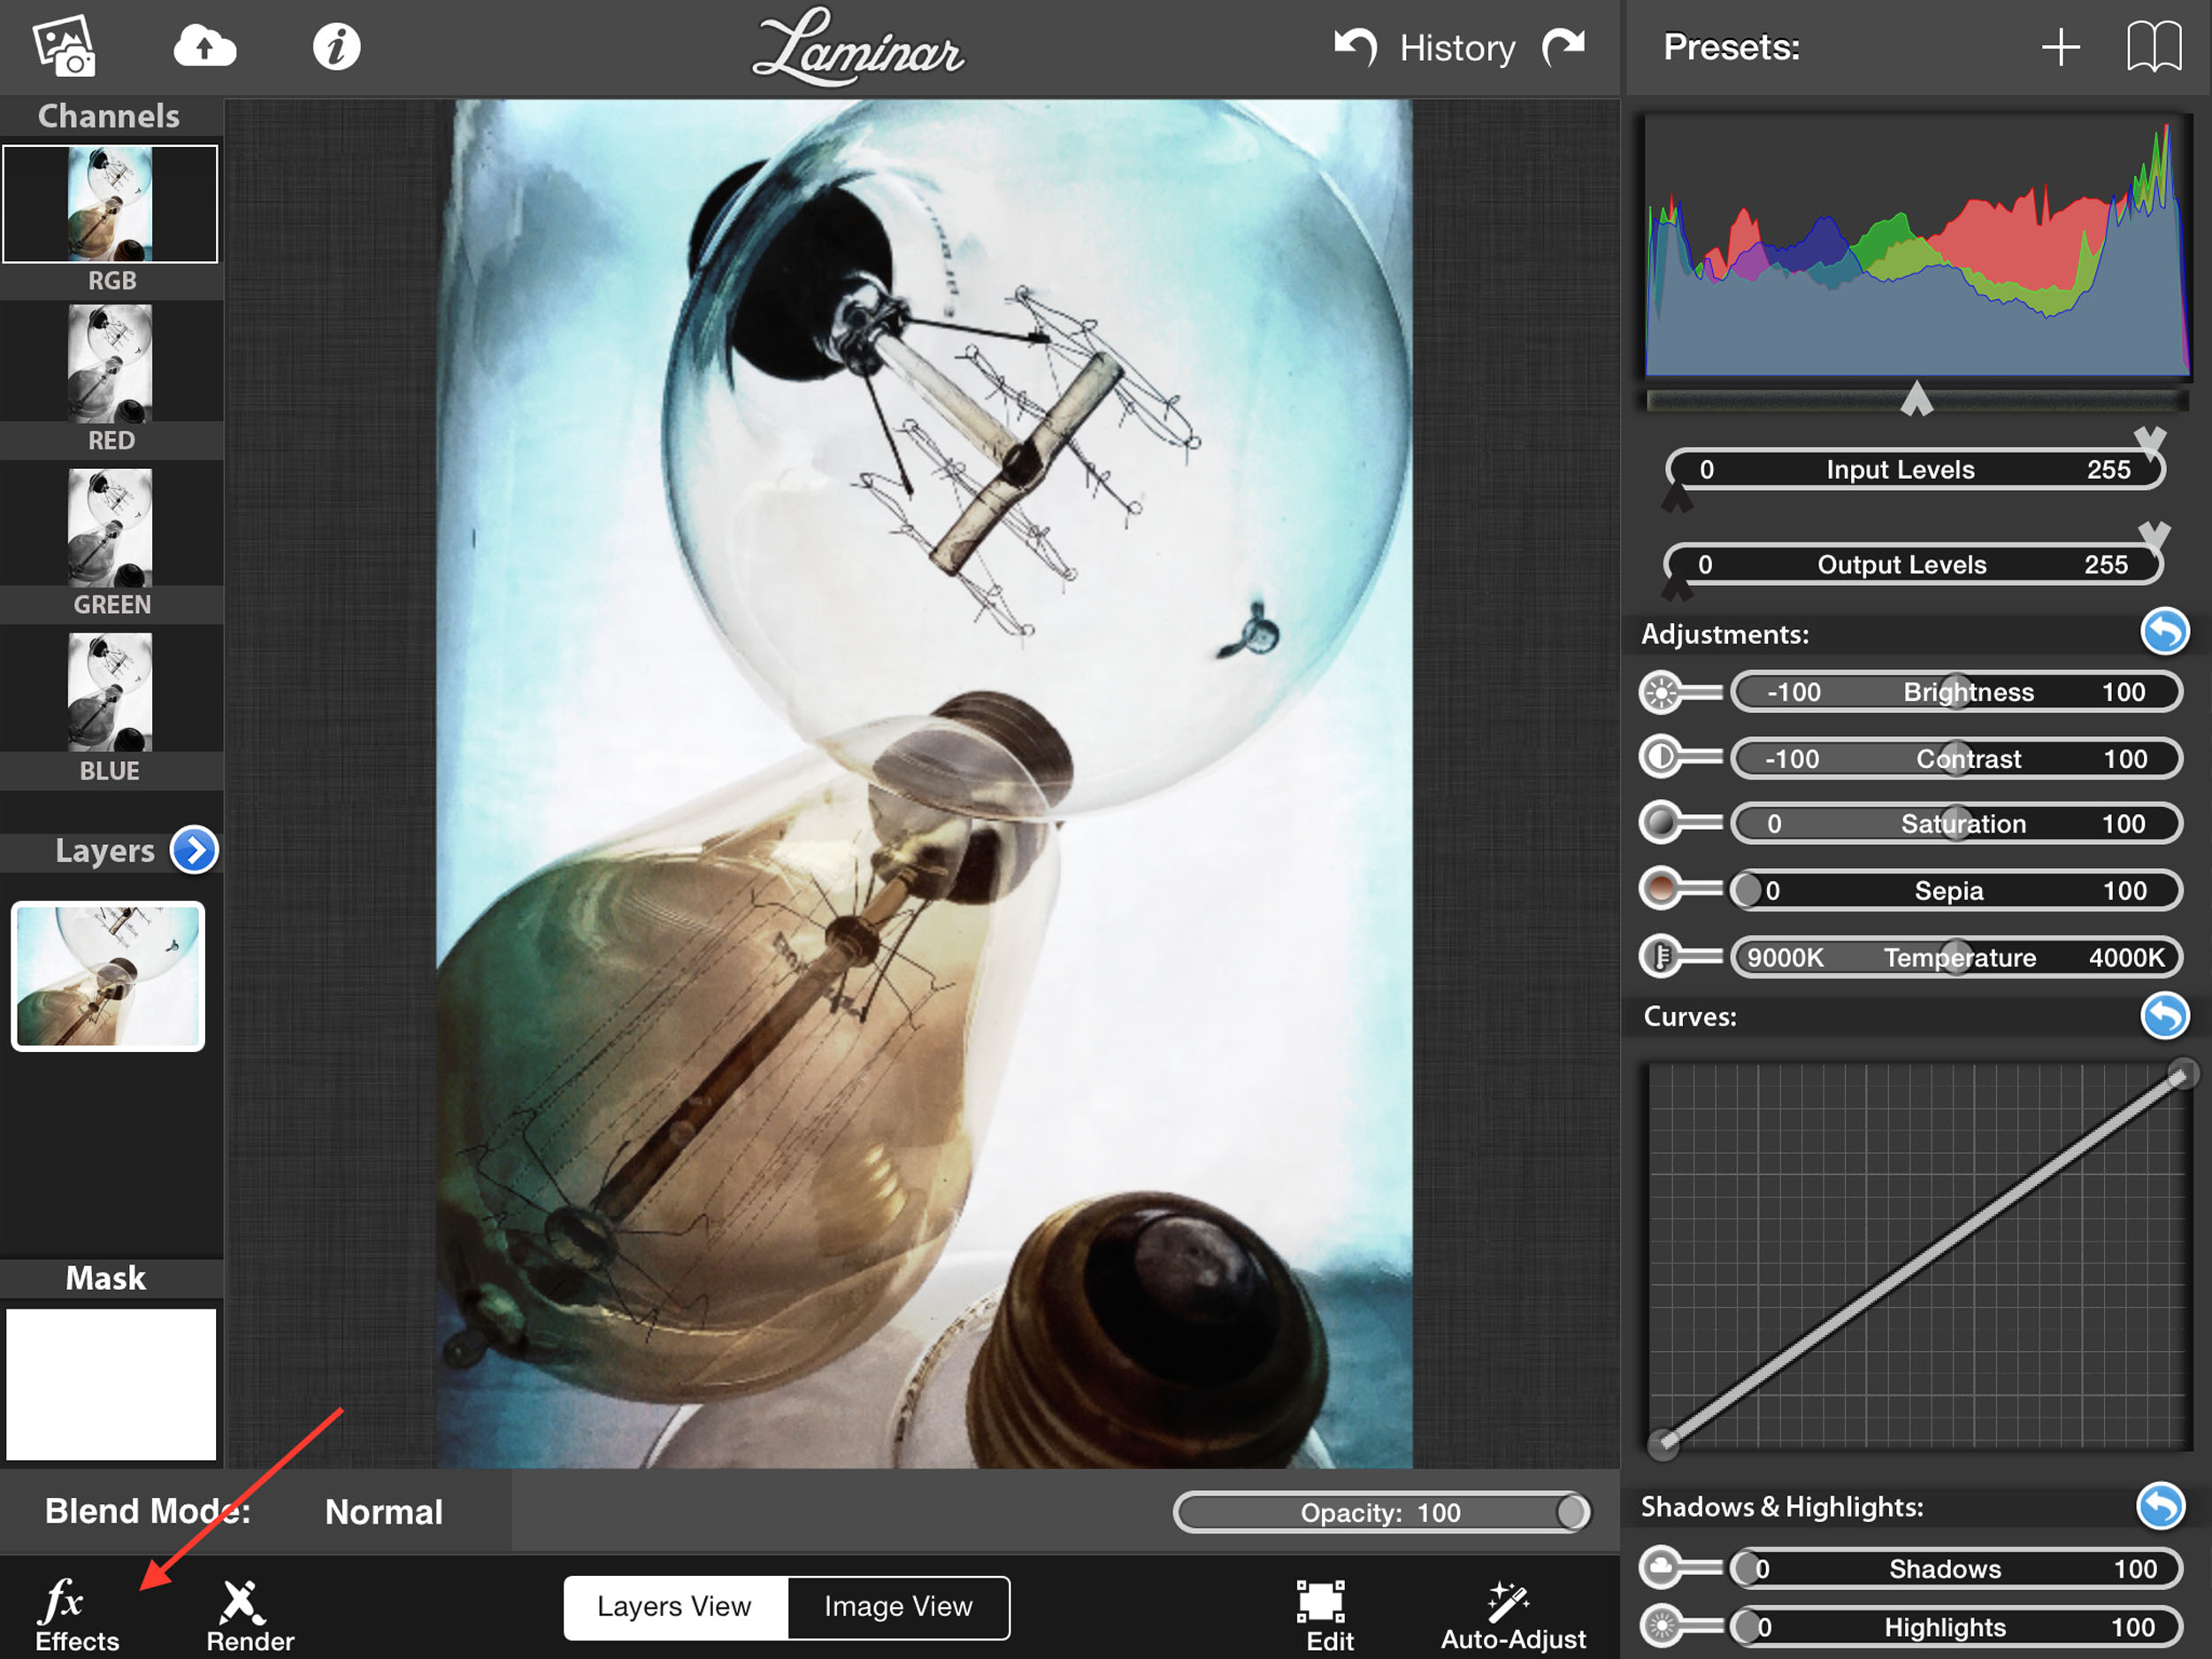
“Tungsten” done. Time for the next effect! I clicked on the “fx Effects” icon again to make this so.
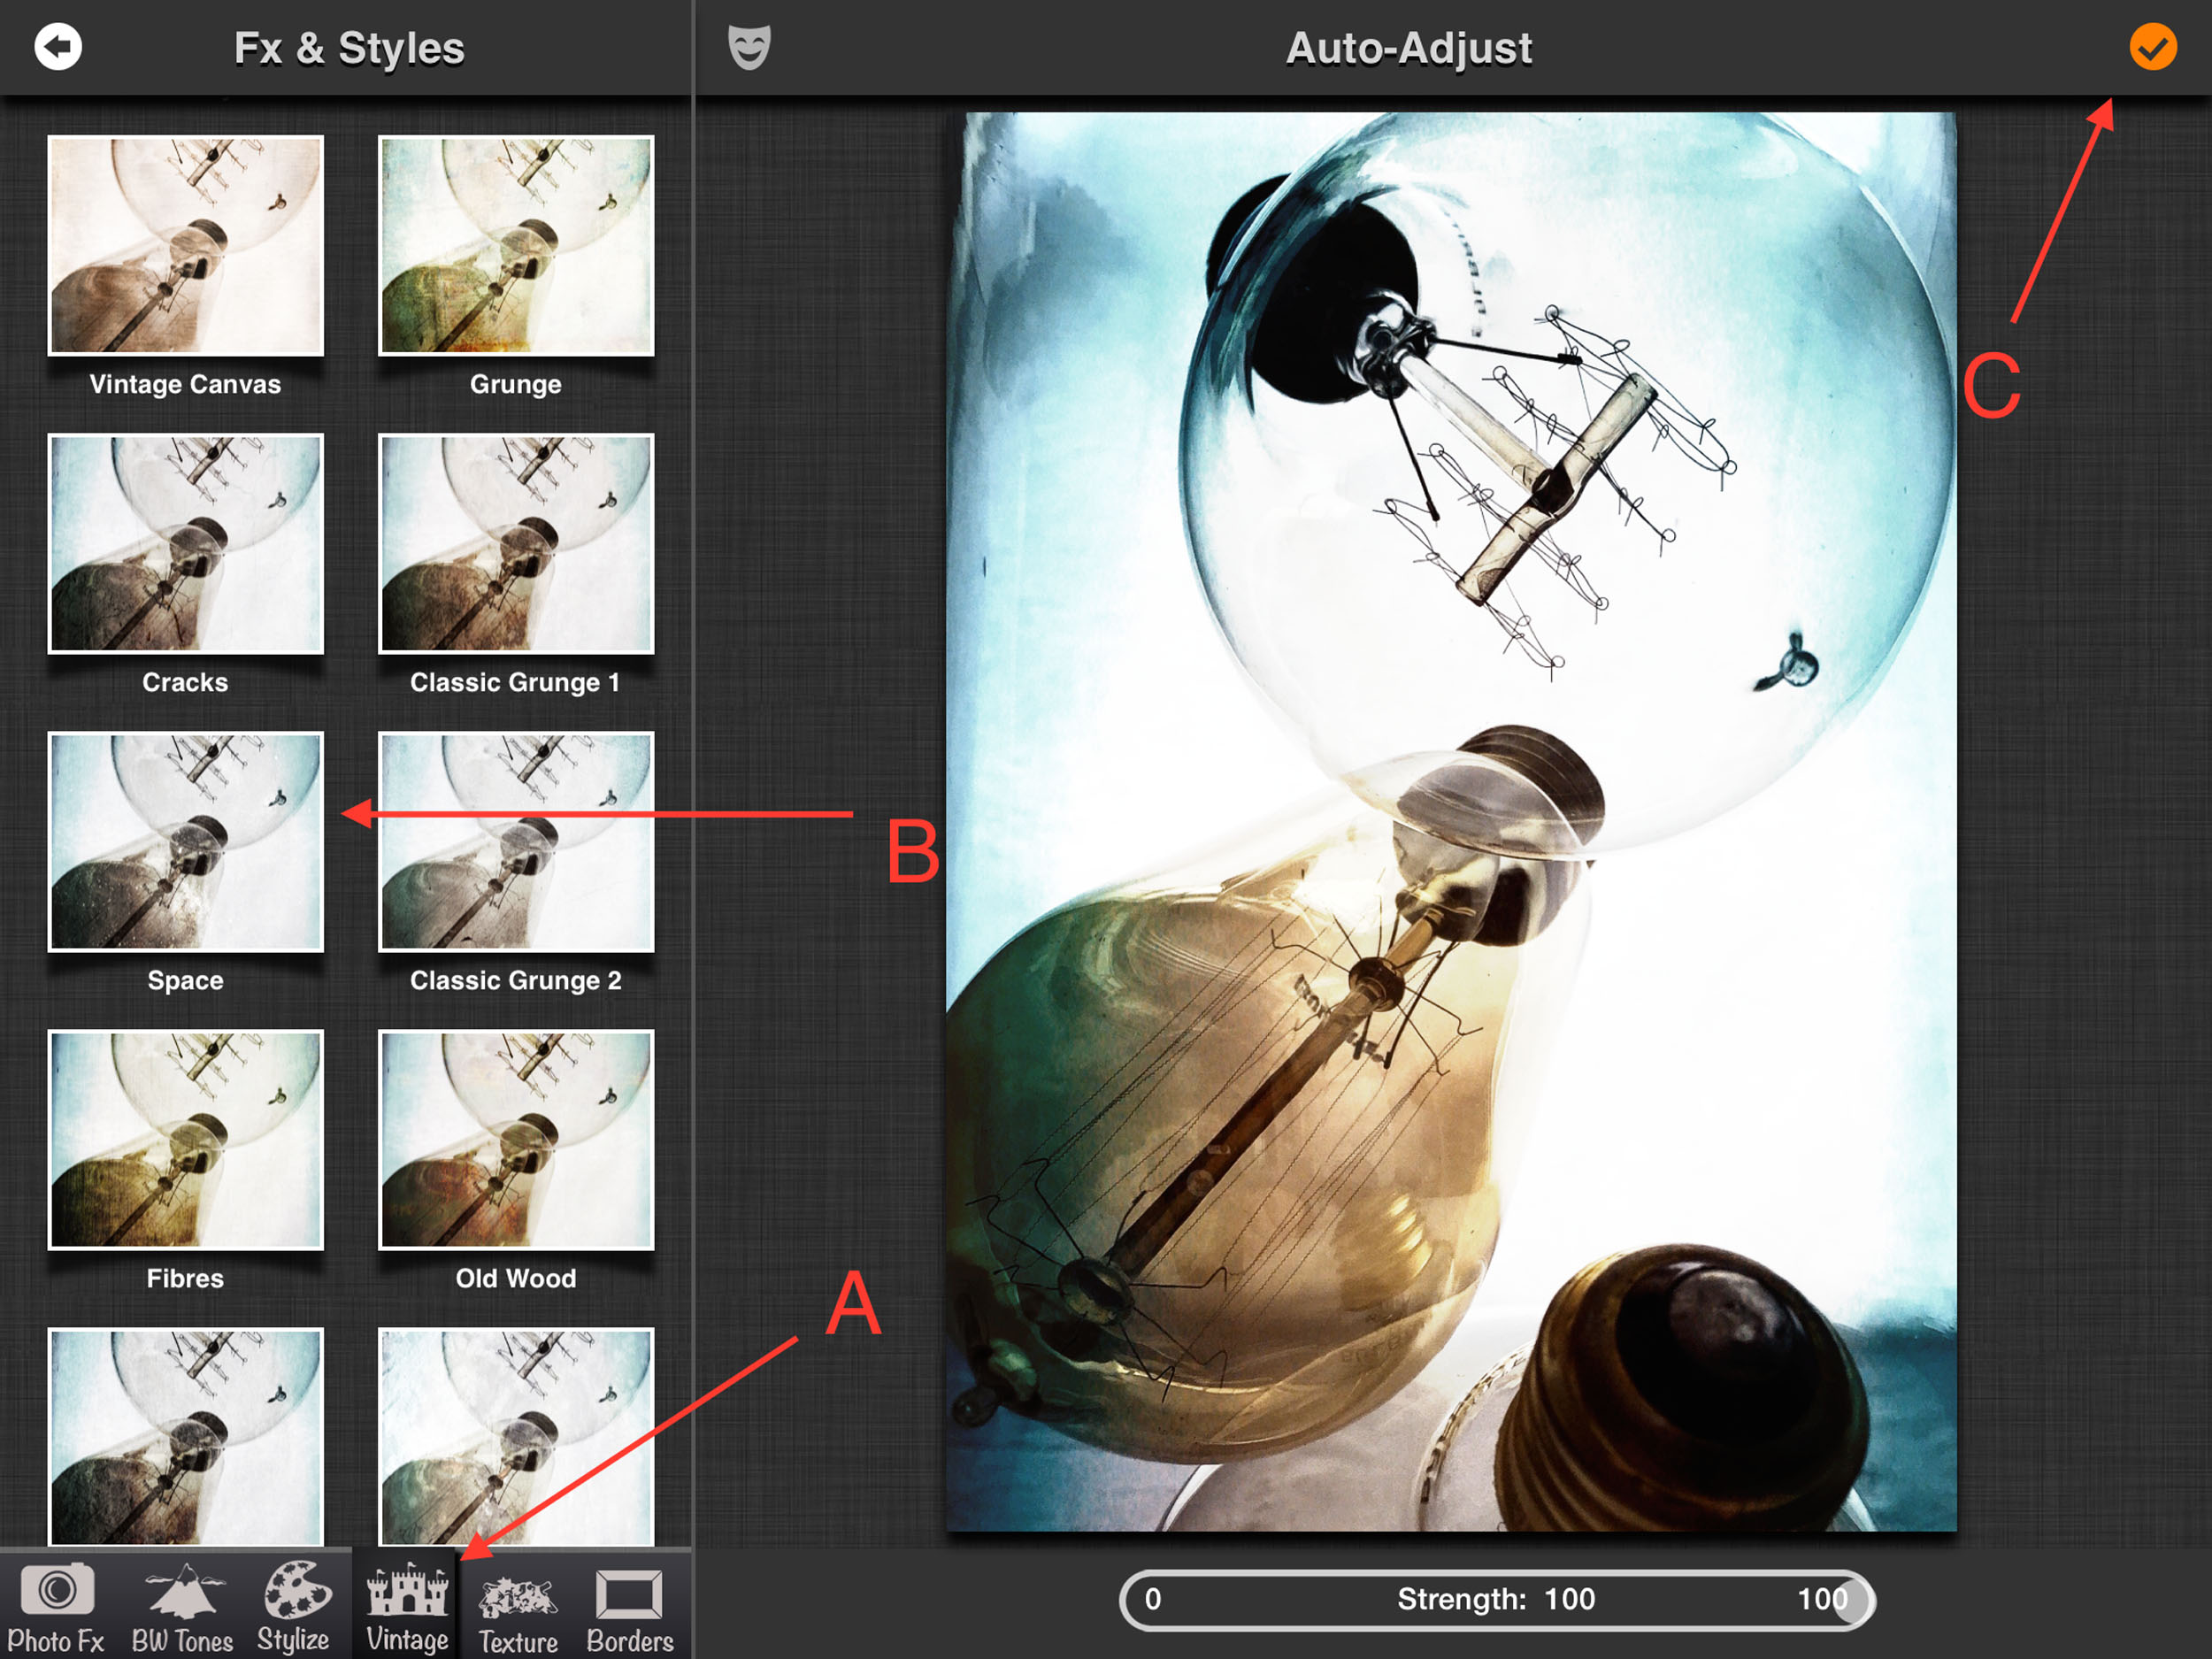
This time I went to “Vintage” (A) and clicked on “Space” (B).
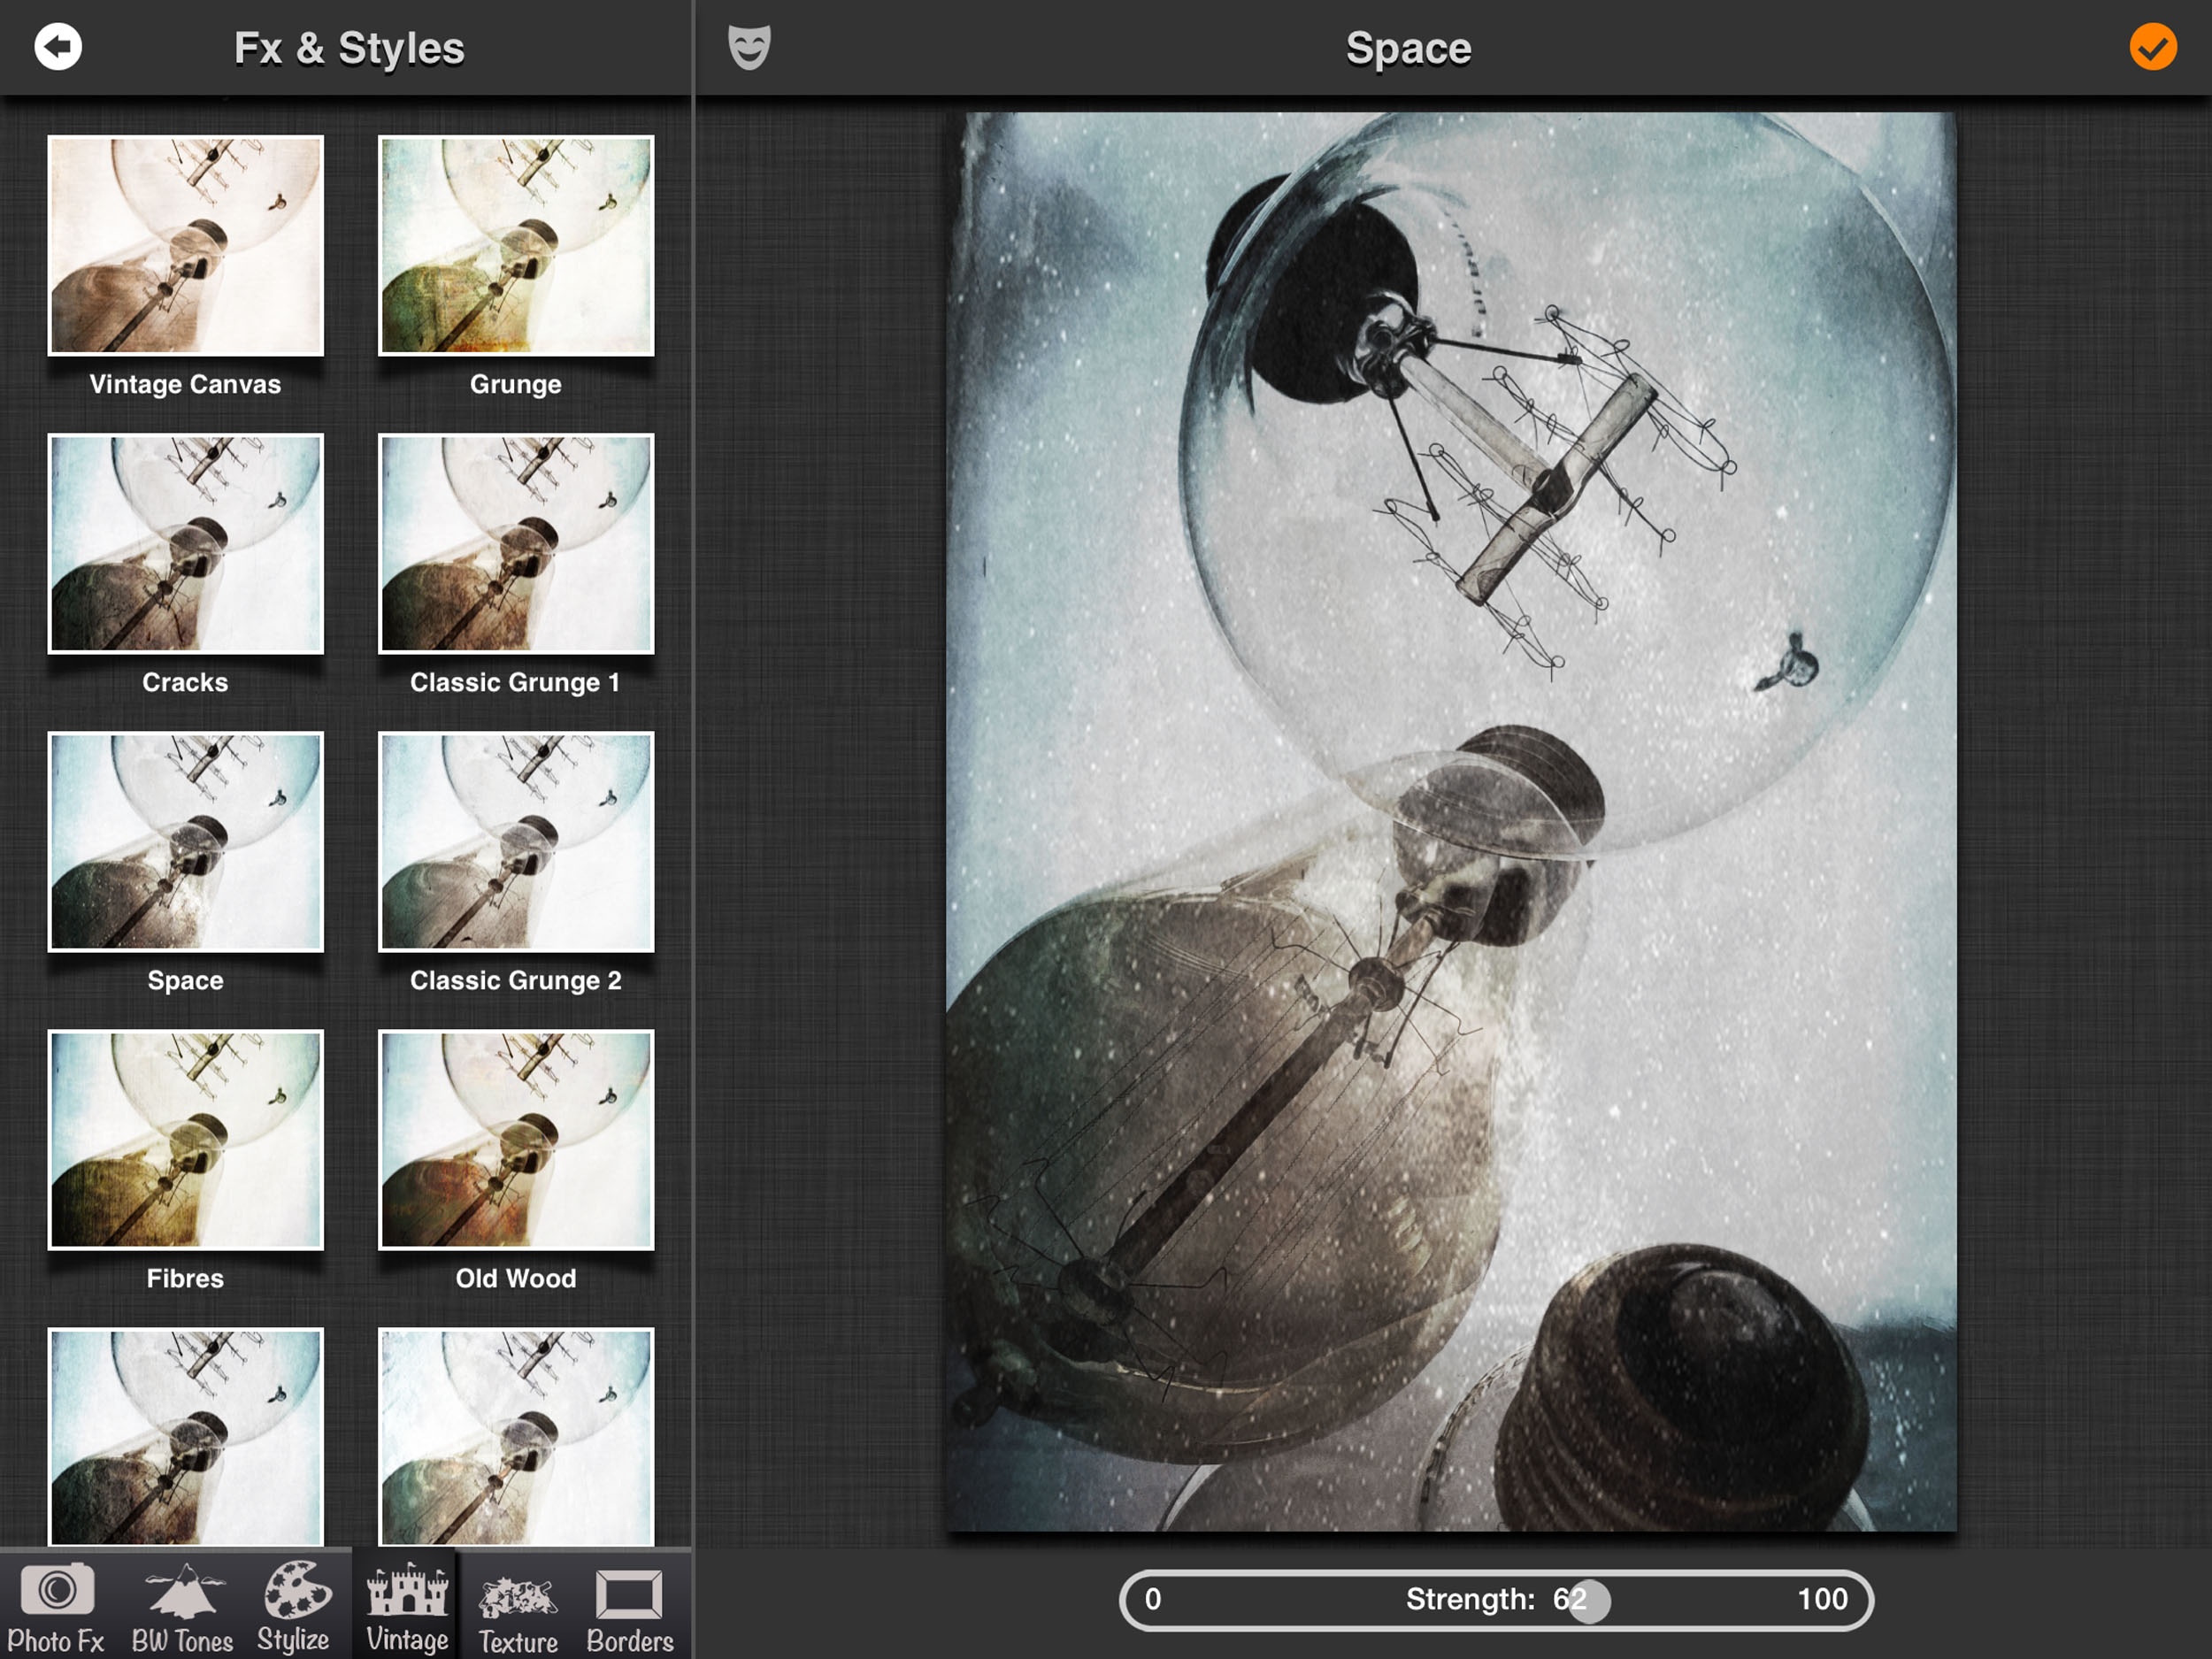
Here’s a look at Celestial so far…just a bit more to go!
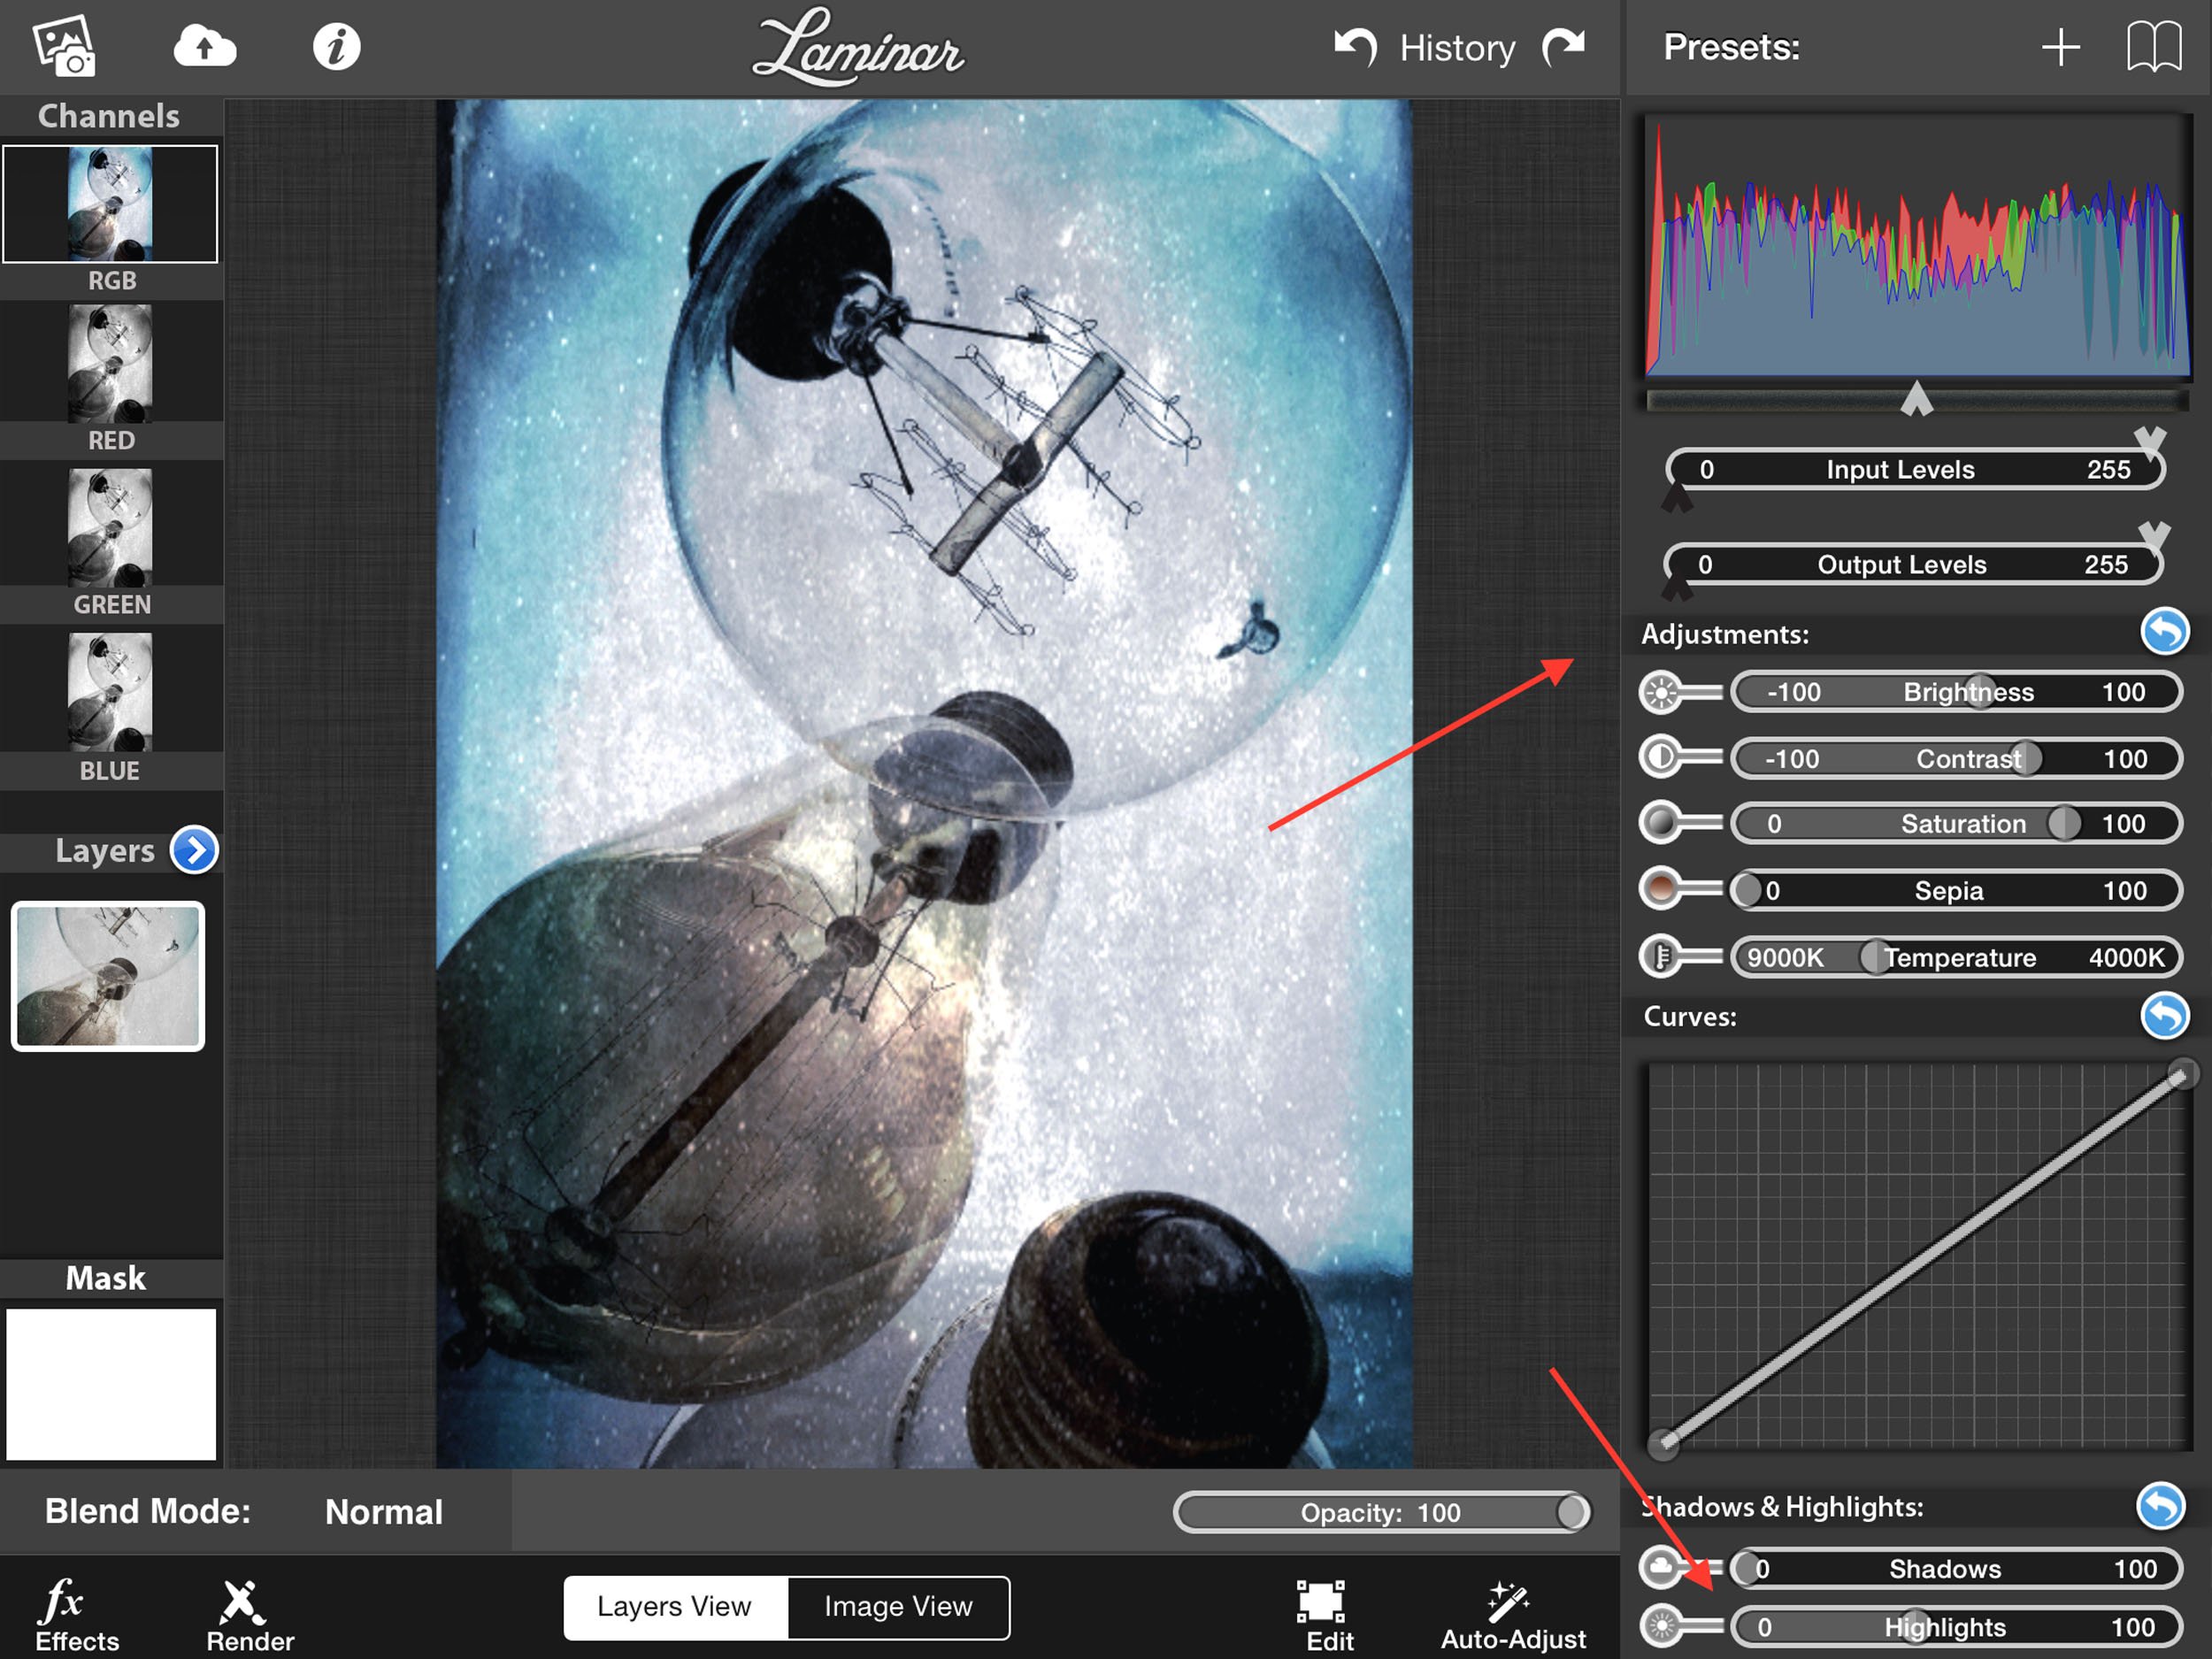
Going over to the “Adjustment” controls, I did a bit of tweaking to the contrast, brightness, saturation, temperature, and highlights of the image. Done!

Here’s the final image! What do you think?