
By Riccardo Montero of http://www.riccardomantero.com
Just as I arrived in the Bryce, I noticed the clouds flowing quickly across the sky, the rays of the rising sun illuminating the pinnacles and the forests, and I started shooting immediately. Toward the end of my shoot which lasted almost two hours, I found myself having to replace the full memory card in my Nikon.
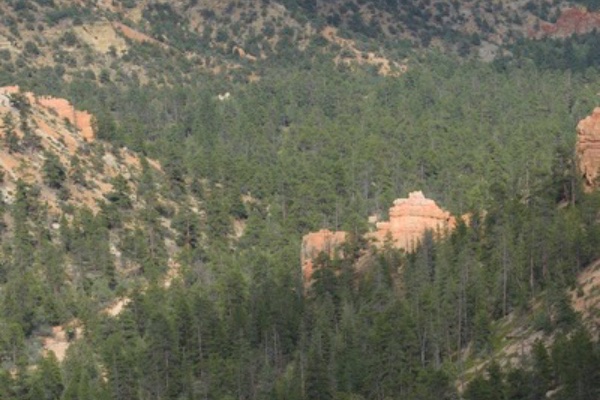
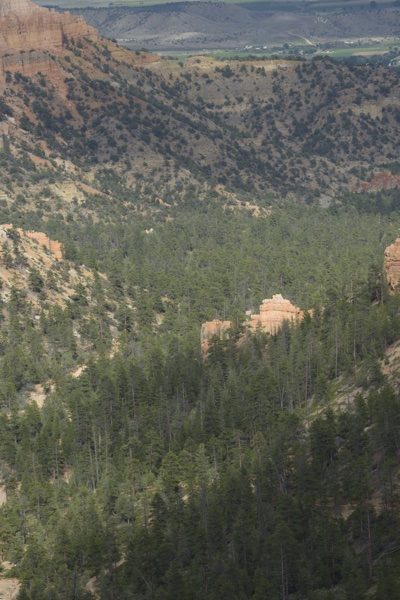
The end result was a series of shots that together comprised one great collage of the canyon. And in the arrangement of the collage, the photos all had in common one visual reference point, a surrounding area common to each:
To achieve this effect, there are three main methods. The first method, the most expensive, is also the most automatic, using a robot head. With this tool you can simply tell the computer where the starting point is to begin photographing, what focal length, and where to end, and the robot takes care of everything. The second method is manual, using a special tripod head AKA “panoramic” which can rotate the camera on three axes.
The third method, while the most economical and portable, is also the most complicated and imprecise, but the method I personally prefer: utilizing a tripod with a professional head that allows for three rotations and perspective correction software (I used the Manfrotto XPRO and the software produced by Kolor, Autopano Pro 4).
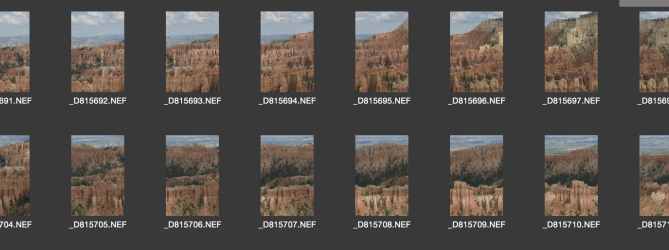
To begin this shoot, I imagined the canyon view in front of me as divided into multiple mosaic pieces (one for each photo), and I decided on a starting point for shooting (top left corner) and ending point (bottom right corner). I then set the zoom to 185mm, in order to maximize the detail. Looking through the viewfinder, I estimated how many lines I would have to move horizontally, by turning the camera onto the horizontal axis–about five steps from left to right and back, for a total of about 60 shots per line.
Obviously, it was possible to achieve the same effect at a zoom of 200 mm, capturing even more detail. But the number of shots would grow immeasurably, and the final photo size would have been unmanageable. So I set the focus to automatic, by selecting the spot in the center of the frame with light metering in matrix mode. The aperture was closed to f/8 to get a good depth of field, and maximum sharpness of the lens (Nikkor 70-200 f/4).
With every photo I shot, I kept to the same reference point. For each frame, I refocussed to the right of the previous shot, until I had arrived at the end of each “imaginary line.” I blocked the horizontal rotation of the tripod head, unlocked the vertical one, lowered it by half frame, re-locked the vertical axis and unlocked the horizontal rotation, starting to shoot my way back from right to left.
The final product was comprised of 330 shots taken at a focal length of 185 mm at f/8 with a Nikon 70-200 f/4 ED VR. Then each shot (RAW made with a Nikon D810 with 36,3 megapixels) was imported and corrected (in its optical characteristics) with DxO optics Pro, and then fed to Autopano Pro in order to build the final mosaic.
The resulting landscape measures 87000 x 30300 (a ratio of about 3:1) pixels on the long side and its total resolution exceeds 2560 Megapixel (That is a huge sensor, huh? To make this picture in a single shot would have required a sensor the size of large fridge.).
The whole process generated a file sized 39.5 Gigabyte (about 10 DVDs), manageable only by a few software programs and a powerful computer–Autopano Pro and Photoshop on my iMac. with 32 GB of ram. It took less than a couple of hours to process all.
This is a condensed version of the original post found at: http://www.riccardomantero.com/en/bryce-giga-canyon/